How to Create a Trompe l'Oeil
Hello everyone, today I suggest we dive into a fascinating world: trompe-l'œil. This term literally means "deceive the eye": it is about creating an illusion so realistic that the viewer believes they are seeing a three-dimensional object, when it is only drawn on a flat surface.
We will look at two examples of trompe l'oeil that should explain their function well.
What is a trompe-l'oeil?
Trompe-l'œil is an artistic technique used to create the illusion of volume and depth. It has been used since the Renaissance in frescoes, and continues to be used today in painting, drawing, and even street art. The secret lies in meticulous observation, mastering shadow and light, and using perspective.
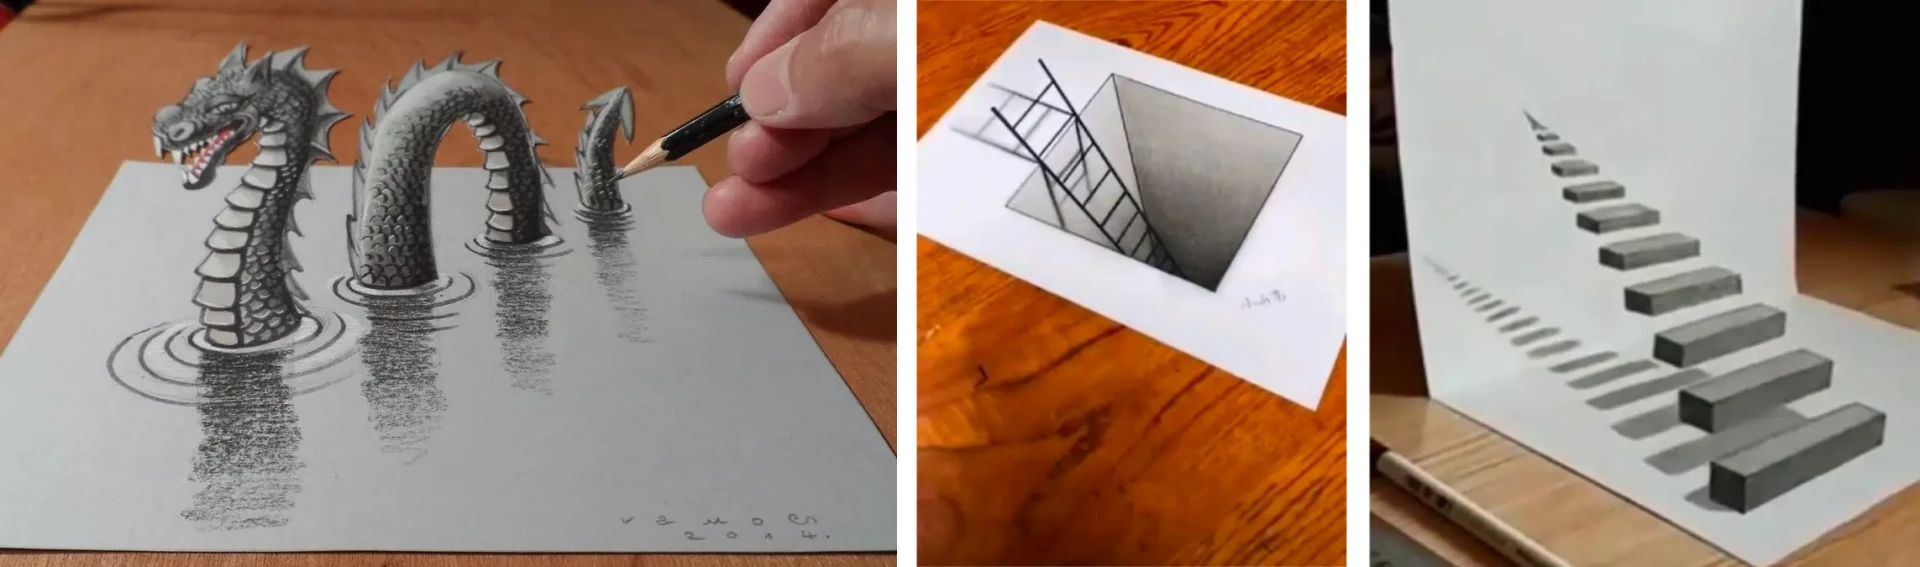
There are many ways to create trompe-l'oeil. The thing they all have in common is the manipulation of perspective: in other words, they generally only work if viewed from a certain angle. Very often, it is also preferable for them to be photographed so that the effect is intensified and more realistic.
So it's a bit restrictive, but it can also be very impressive. The three most used techniques consist of either folding the sheet in half, playing with a distortion effect, or making the drawing "come out" of the sheet. They are often mixed to achieve a really believable result.
Drawing a trompe-l'oeil by folding the paper
I suggest we start with a fairly classic technique: the folded sheet method. We will apply it to a specific case, but if you take the time to observe other examples of trompe-l'oeil, you will see that they often operate on the same principle.
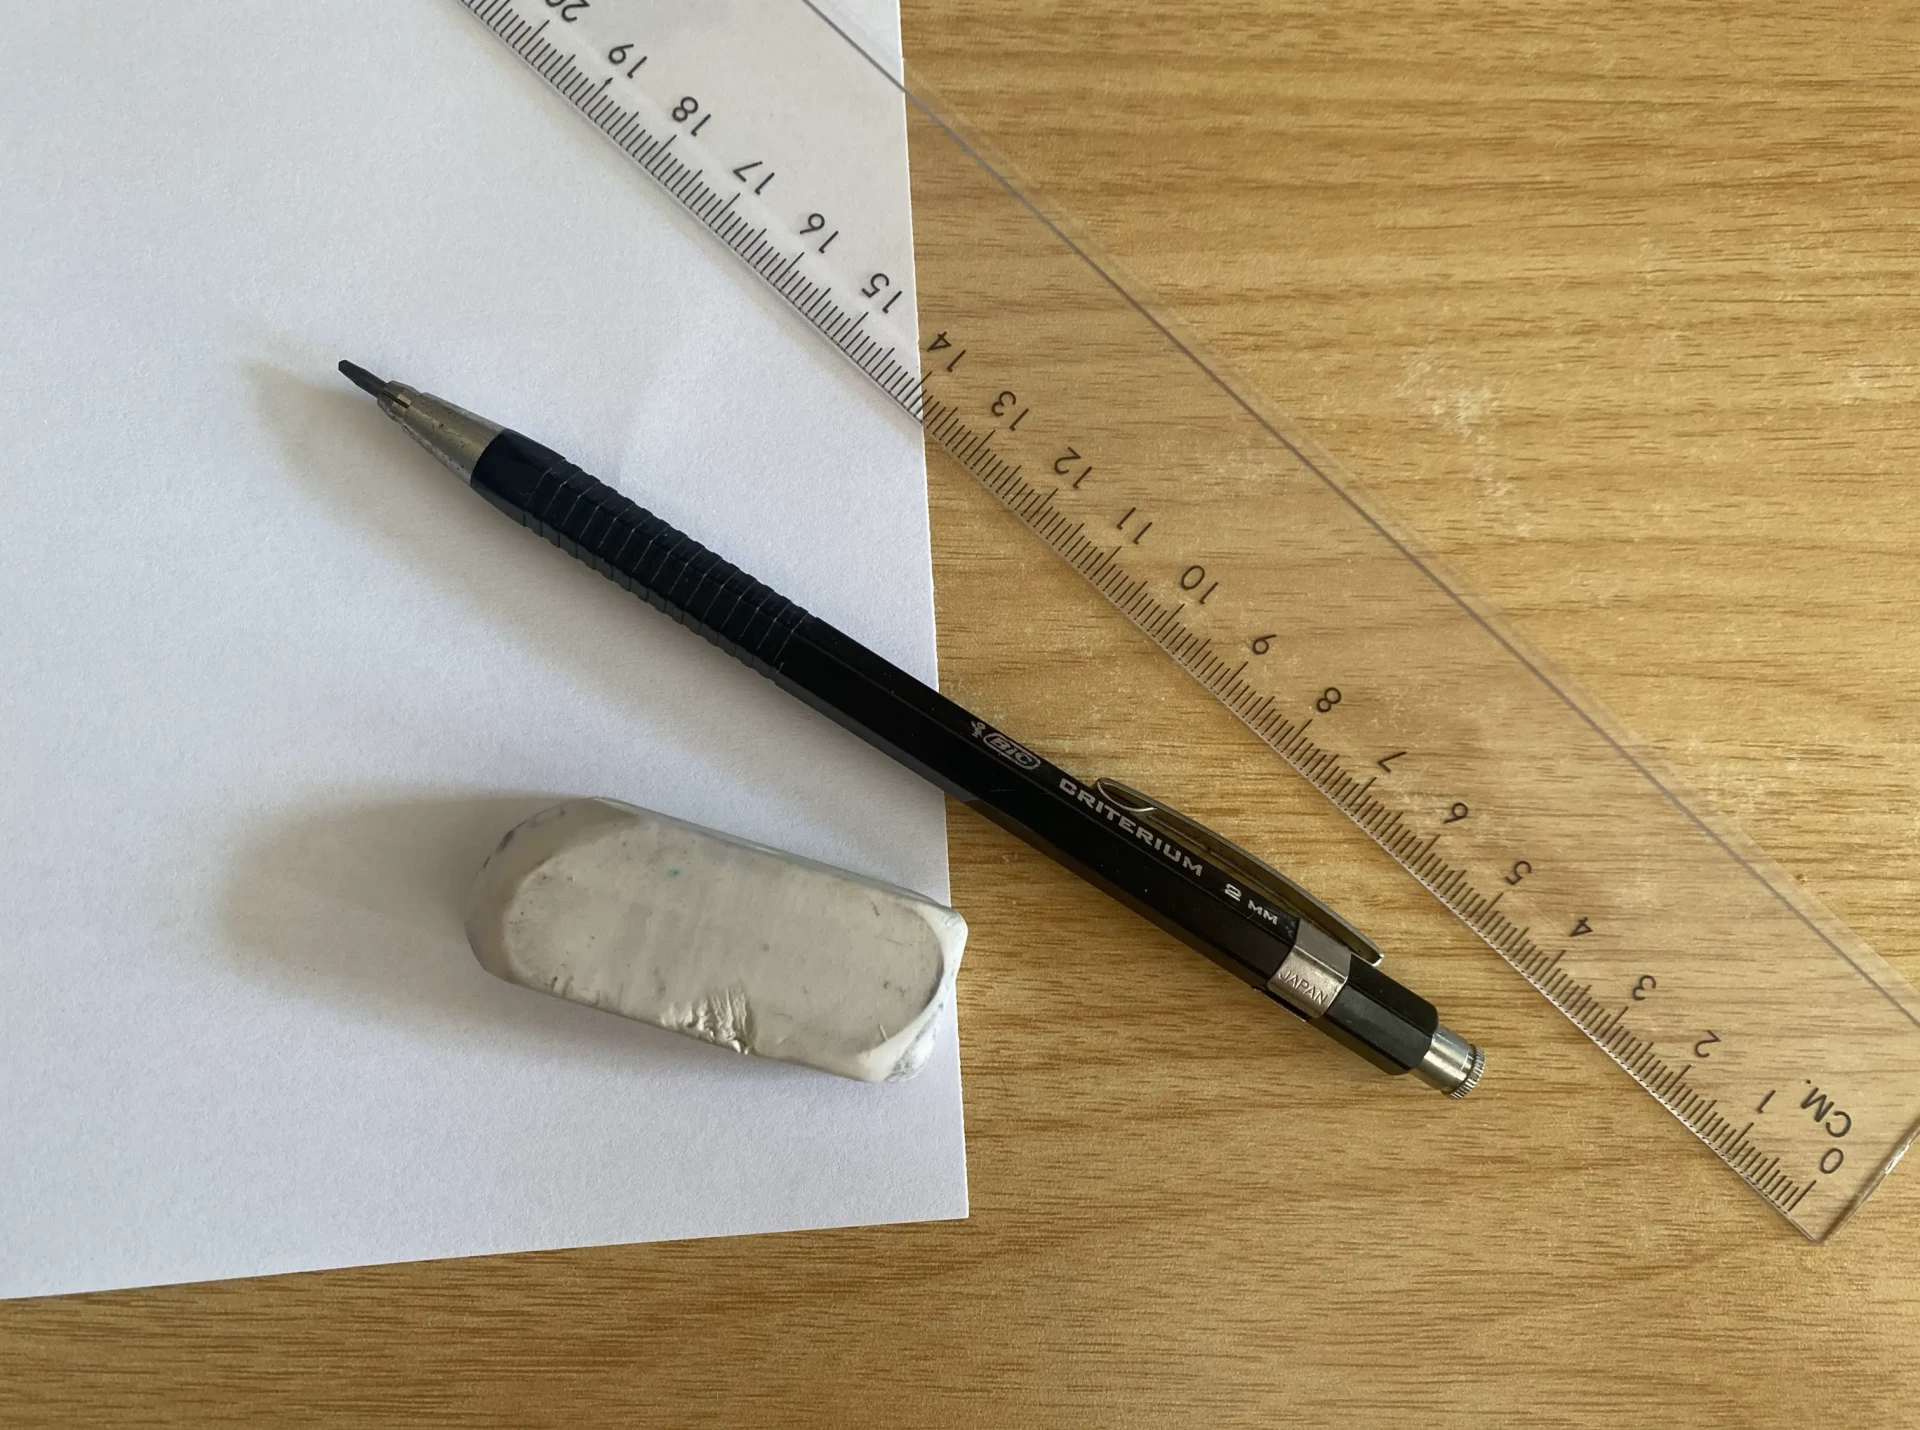
1. In terms of materials, you will need a sheet of paper, a pencil, an eraser, and a ruler.
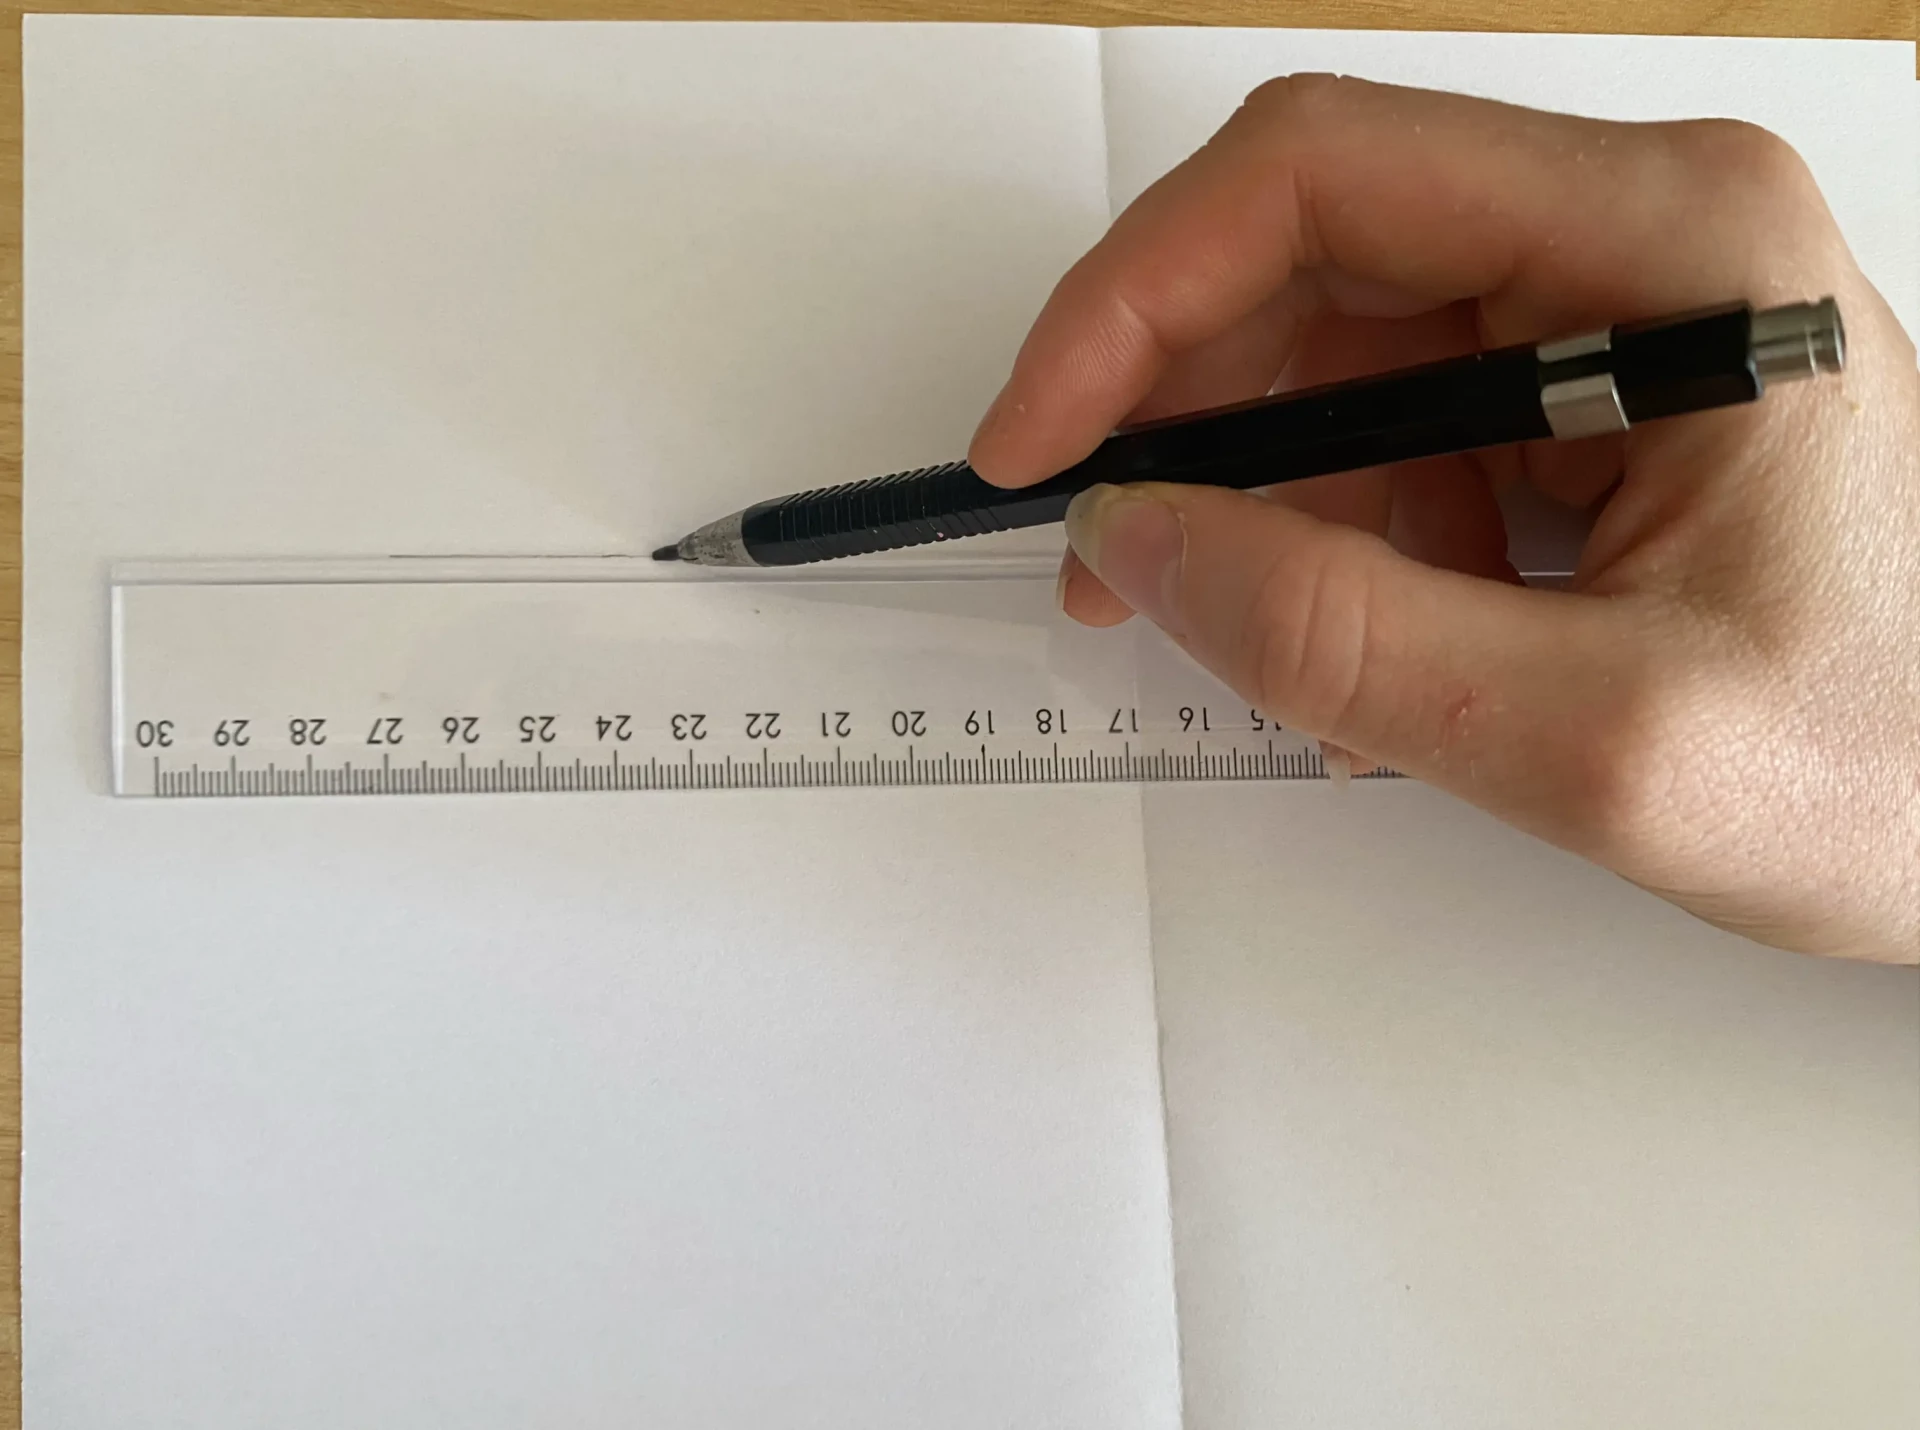
2. Start by folding the sheet into two equal parts. Then, draw a horizontal line closer to one edge than the other.
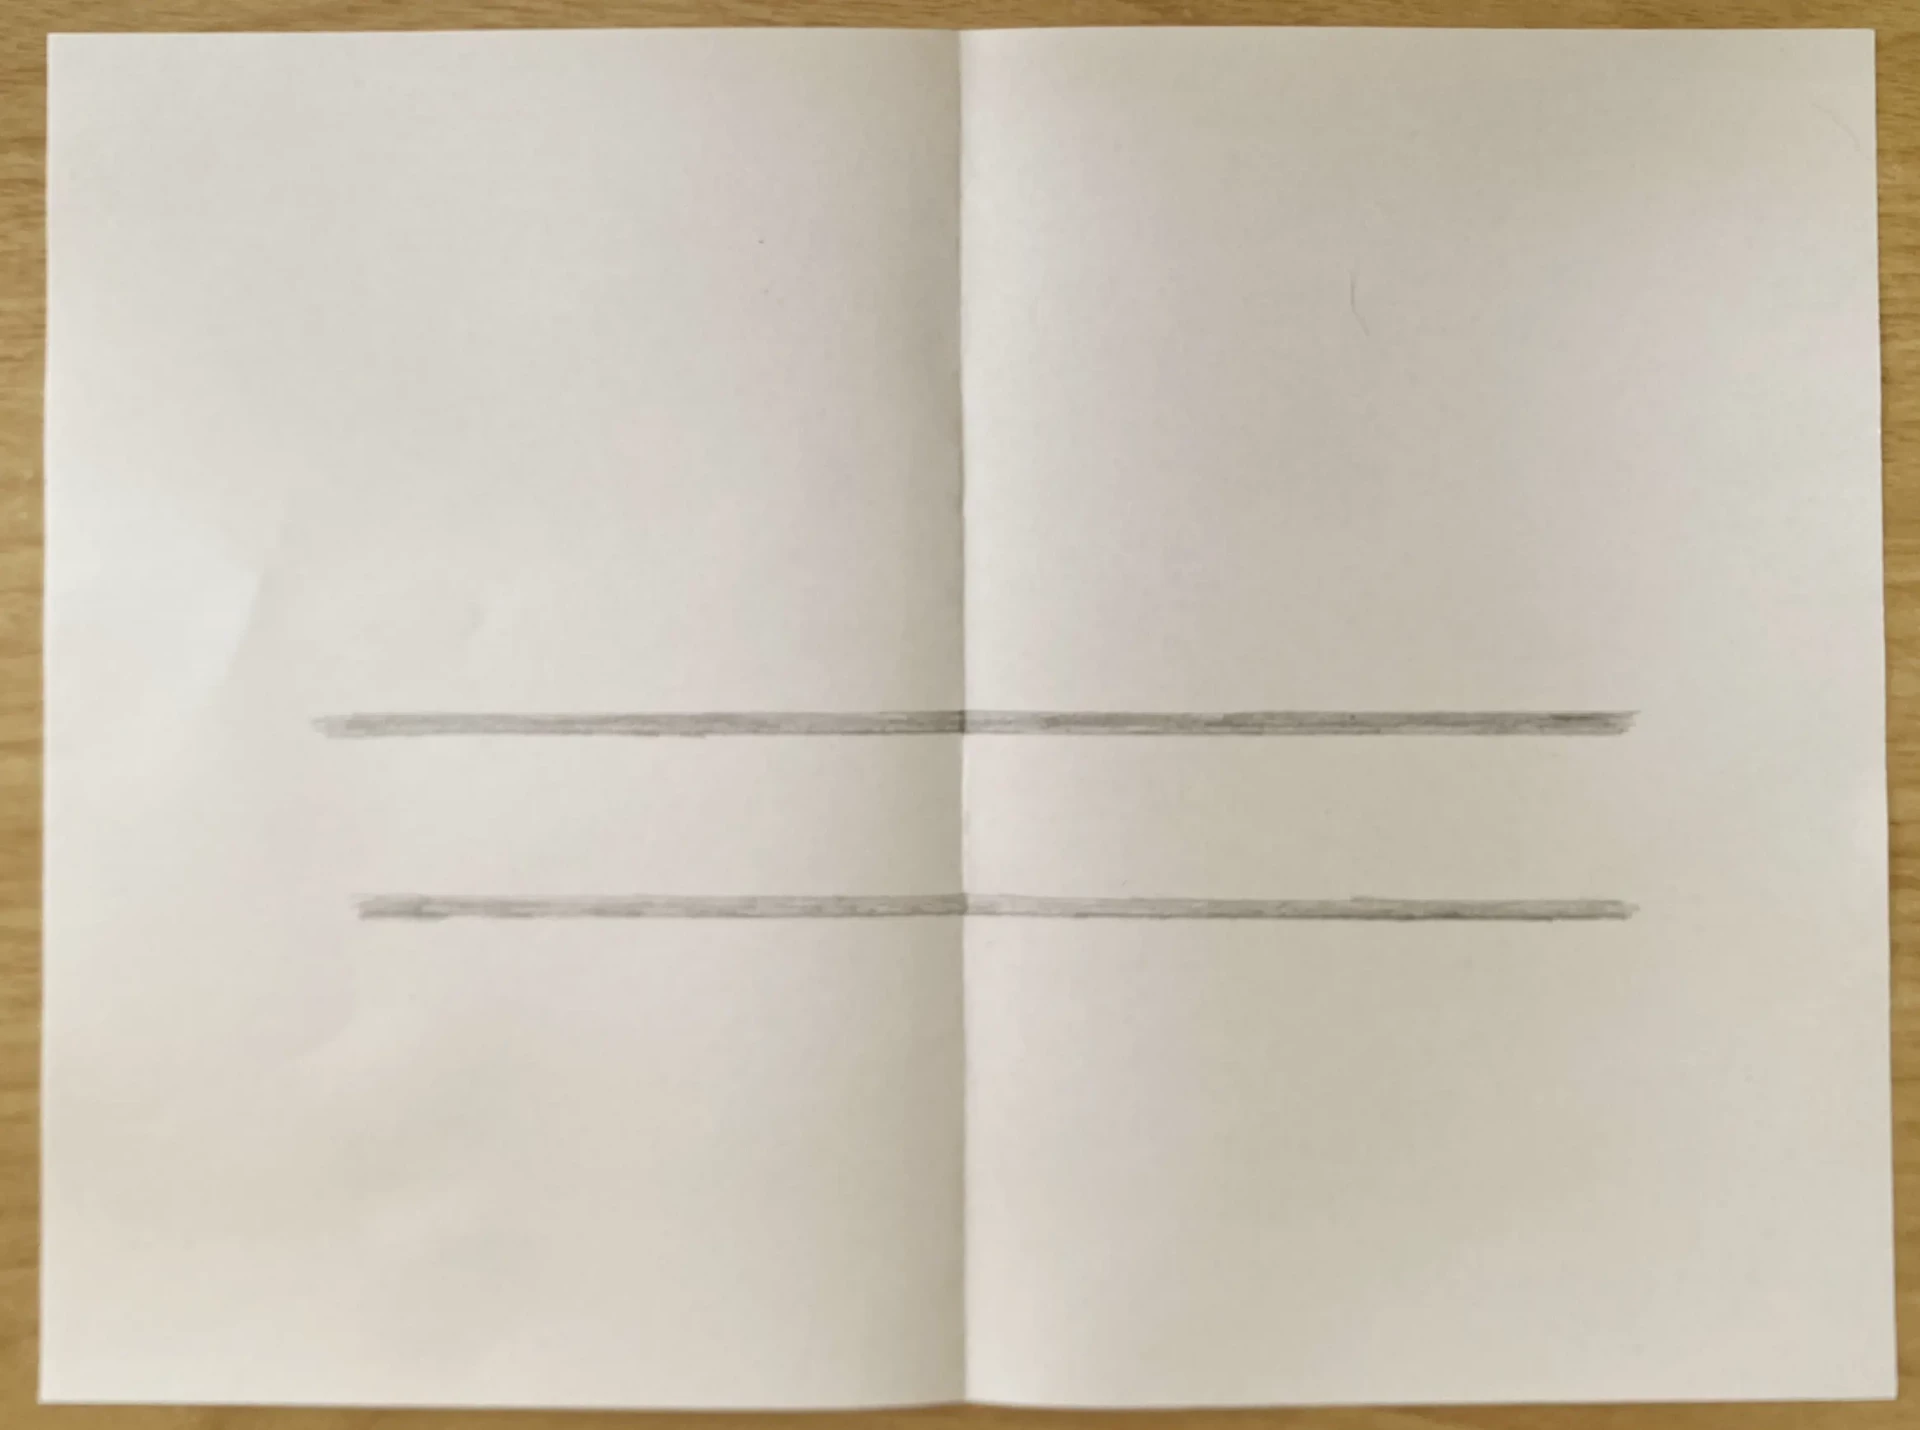
3. Draw a second line parallel to the first one. You are free to choose their length and thickness. Make sure not to press too hard on your pencil so as not to make them too dark: they will correspond to the shadow of our drawing.
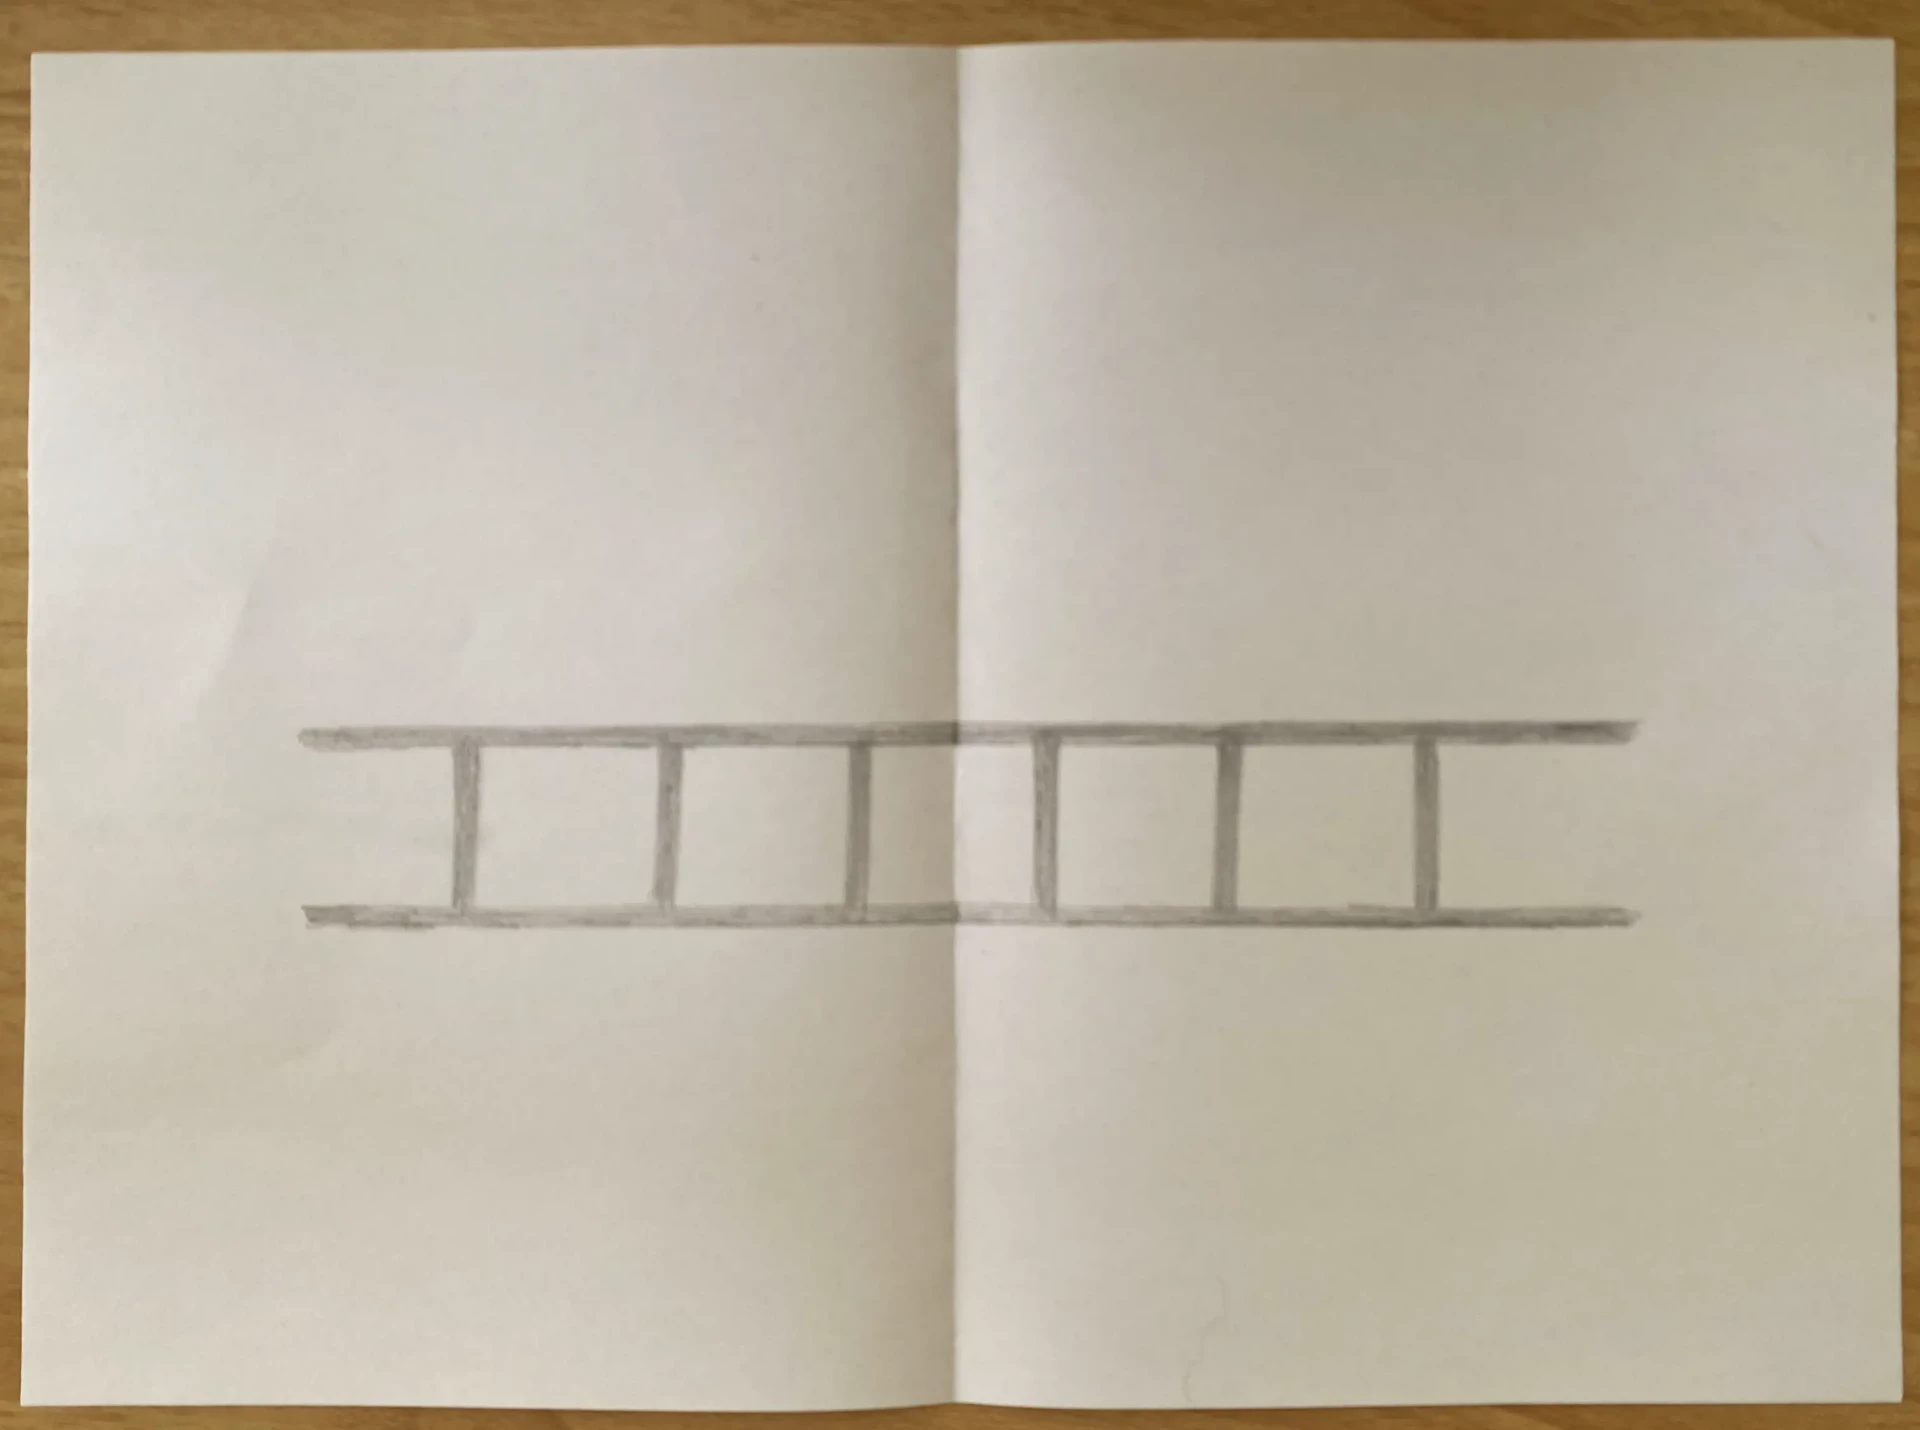
4. You can now connect them with segments parallel to each other. Just be careful not to draw a segment right on the fold.
How to create an illusion in your trompe-l'oeil drawing
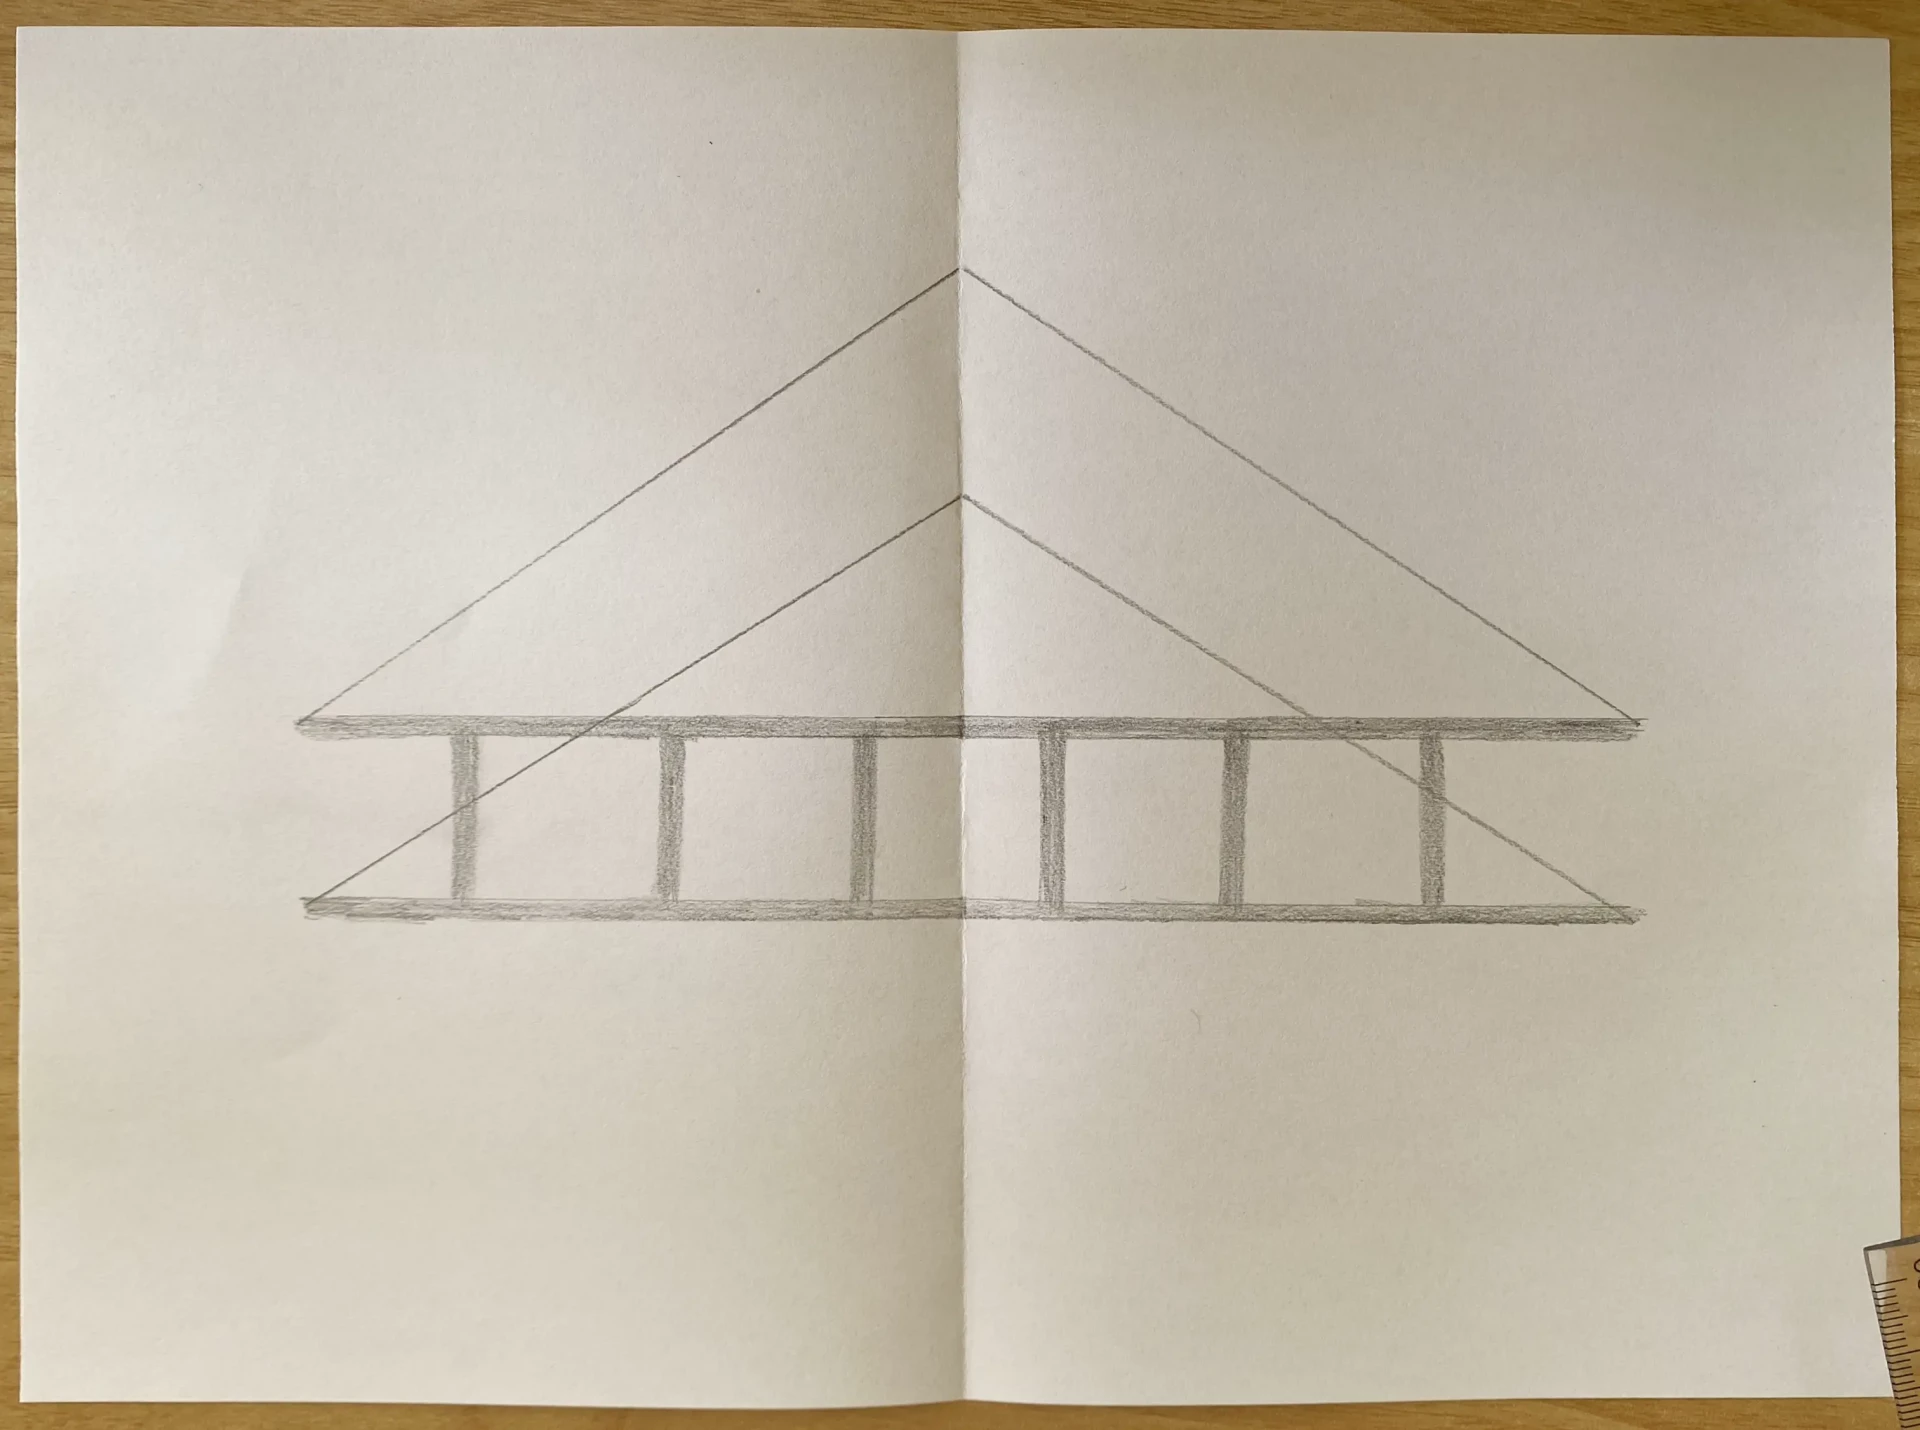
5. Now, we will draw another ladder: it is this one that creates the illusion. Draw a triangular shape, trying not to shift it too much from the initial ladder. Be very careful that the segments join perfectly at the fold of the paper, as this is what creates a beautiful illusion.
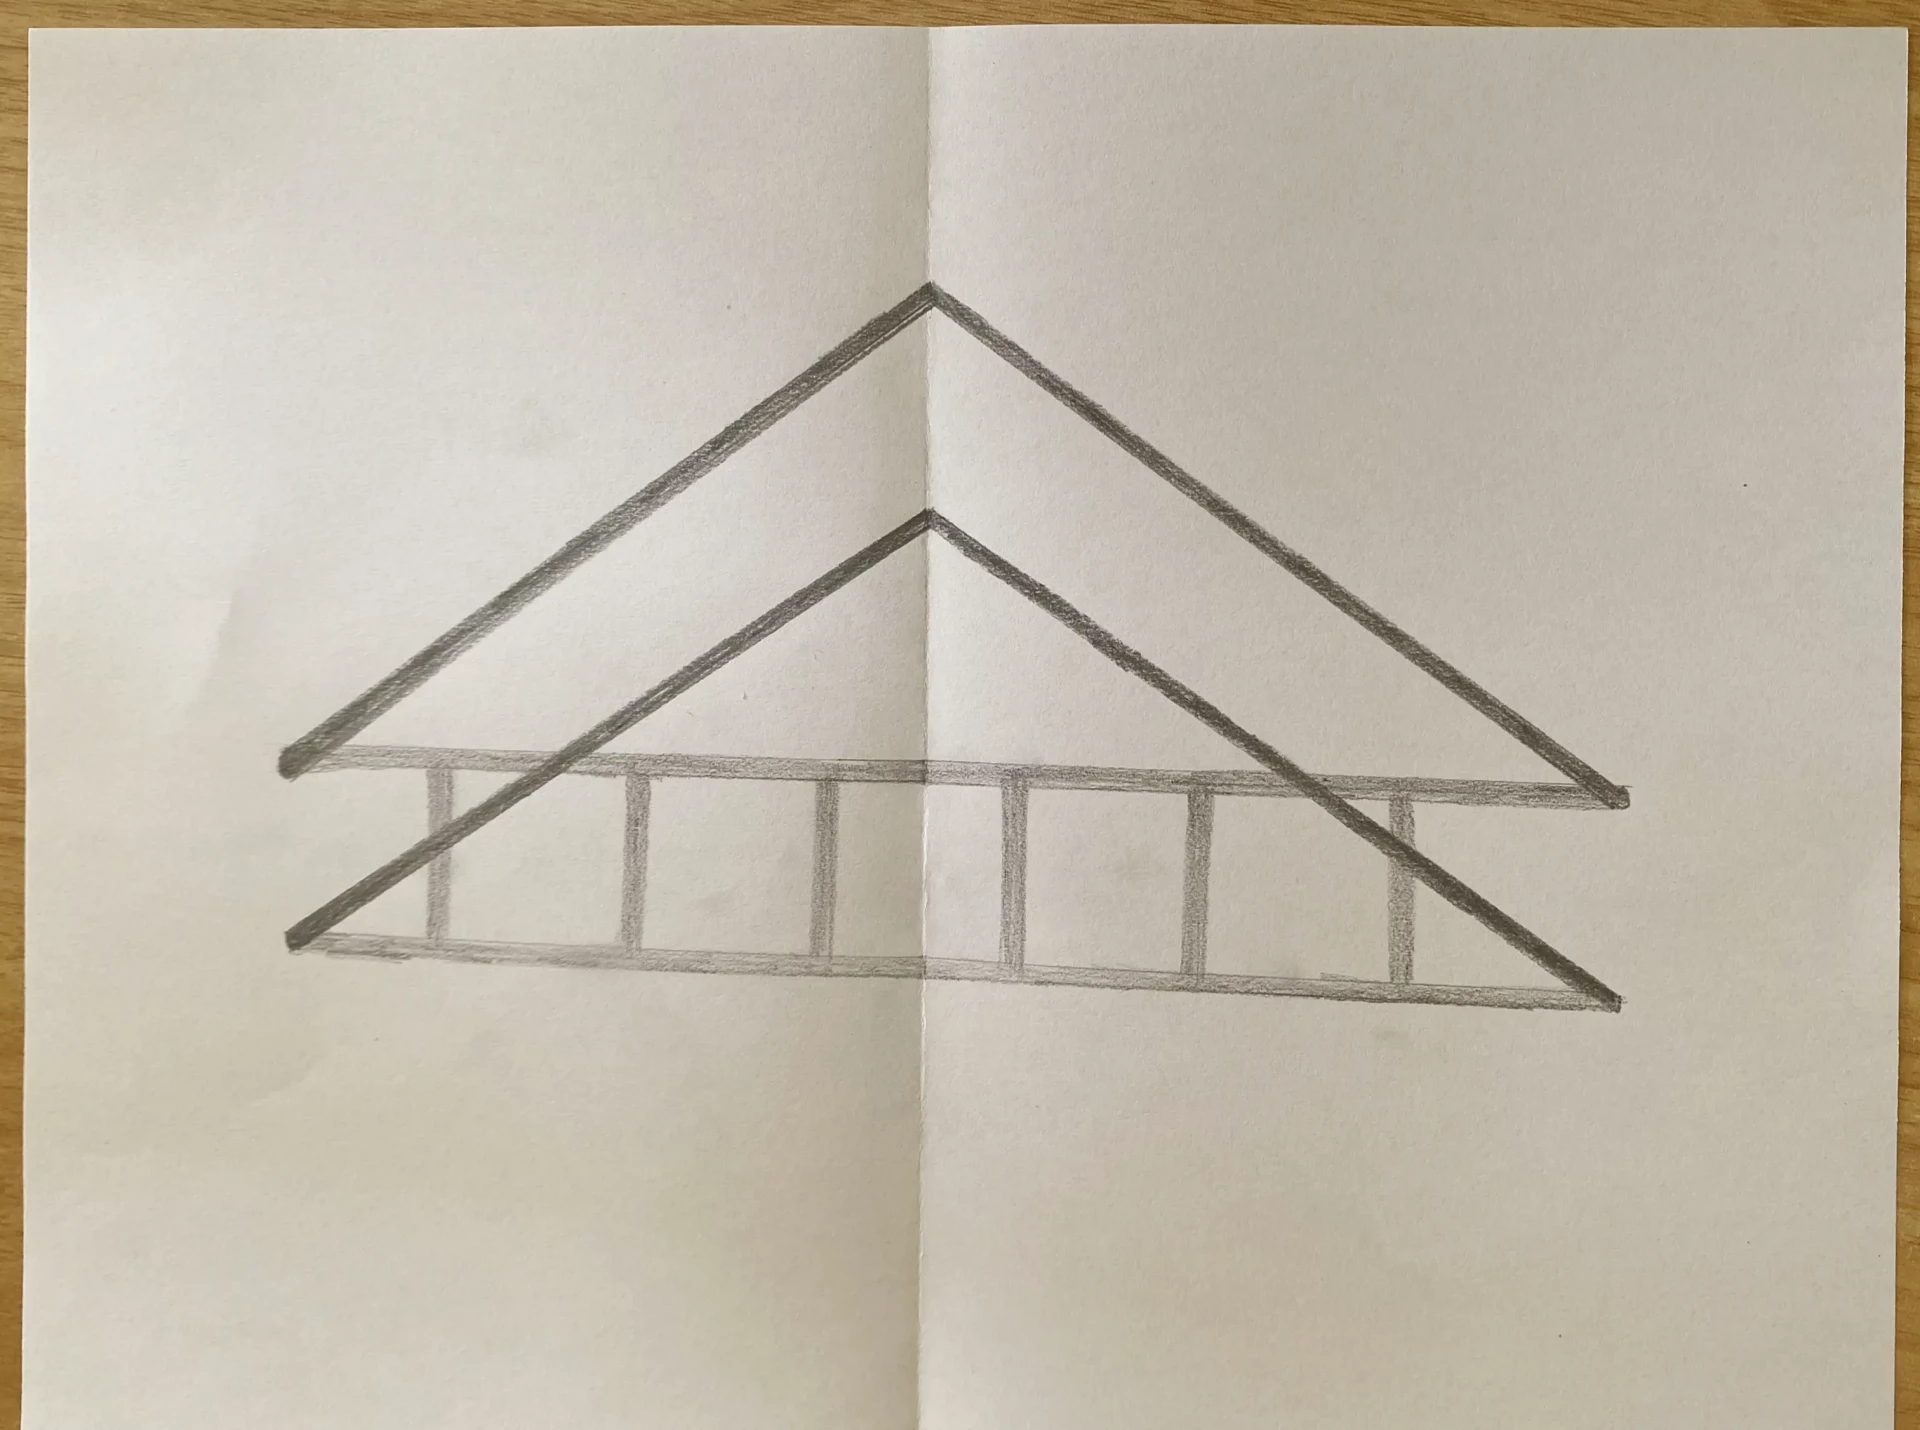
6. Add some thickness to each segment. For a cleaner result, try rounding the parts on the right and left where the ladder angles meet.
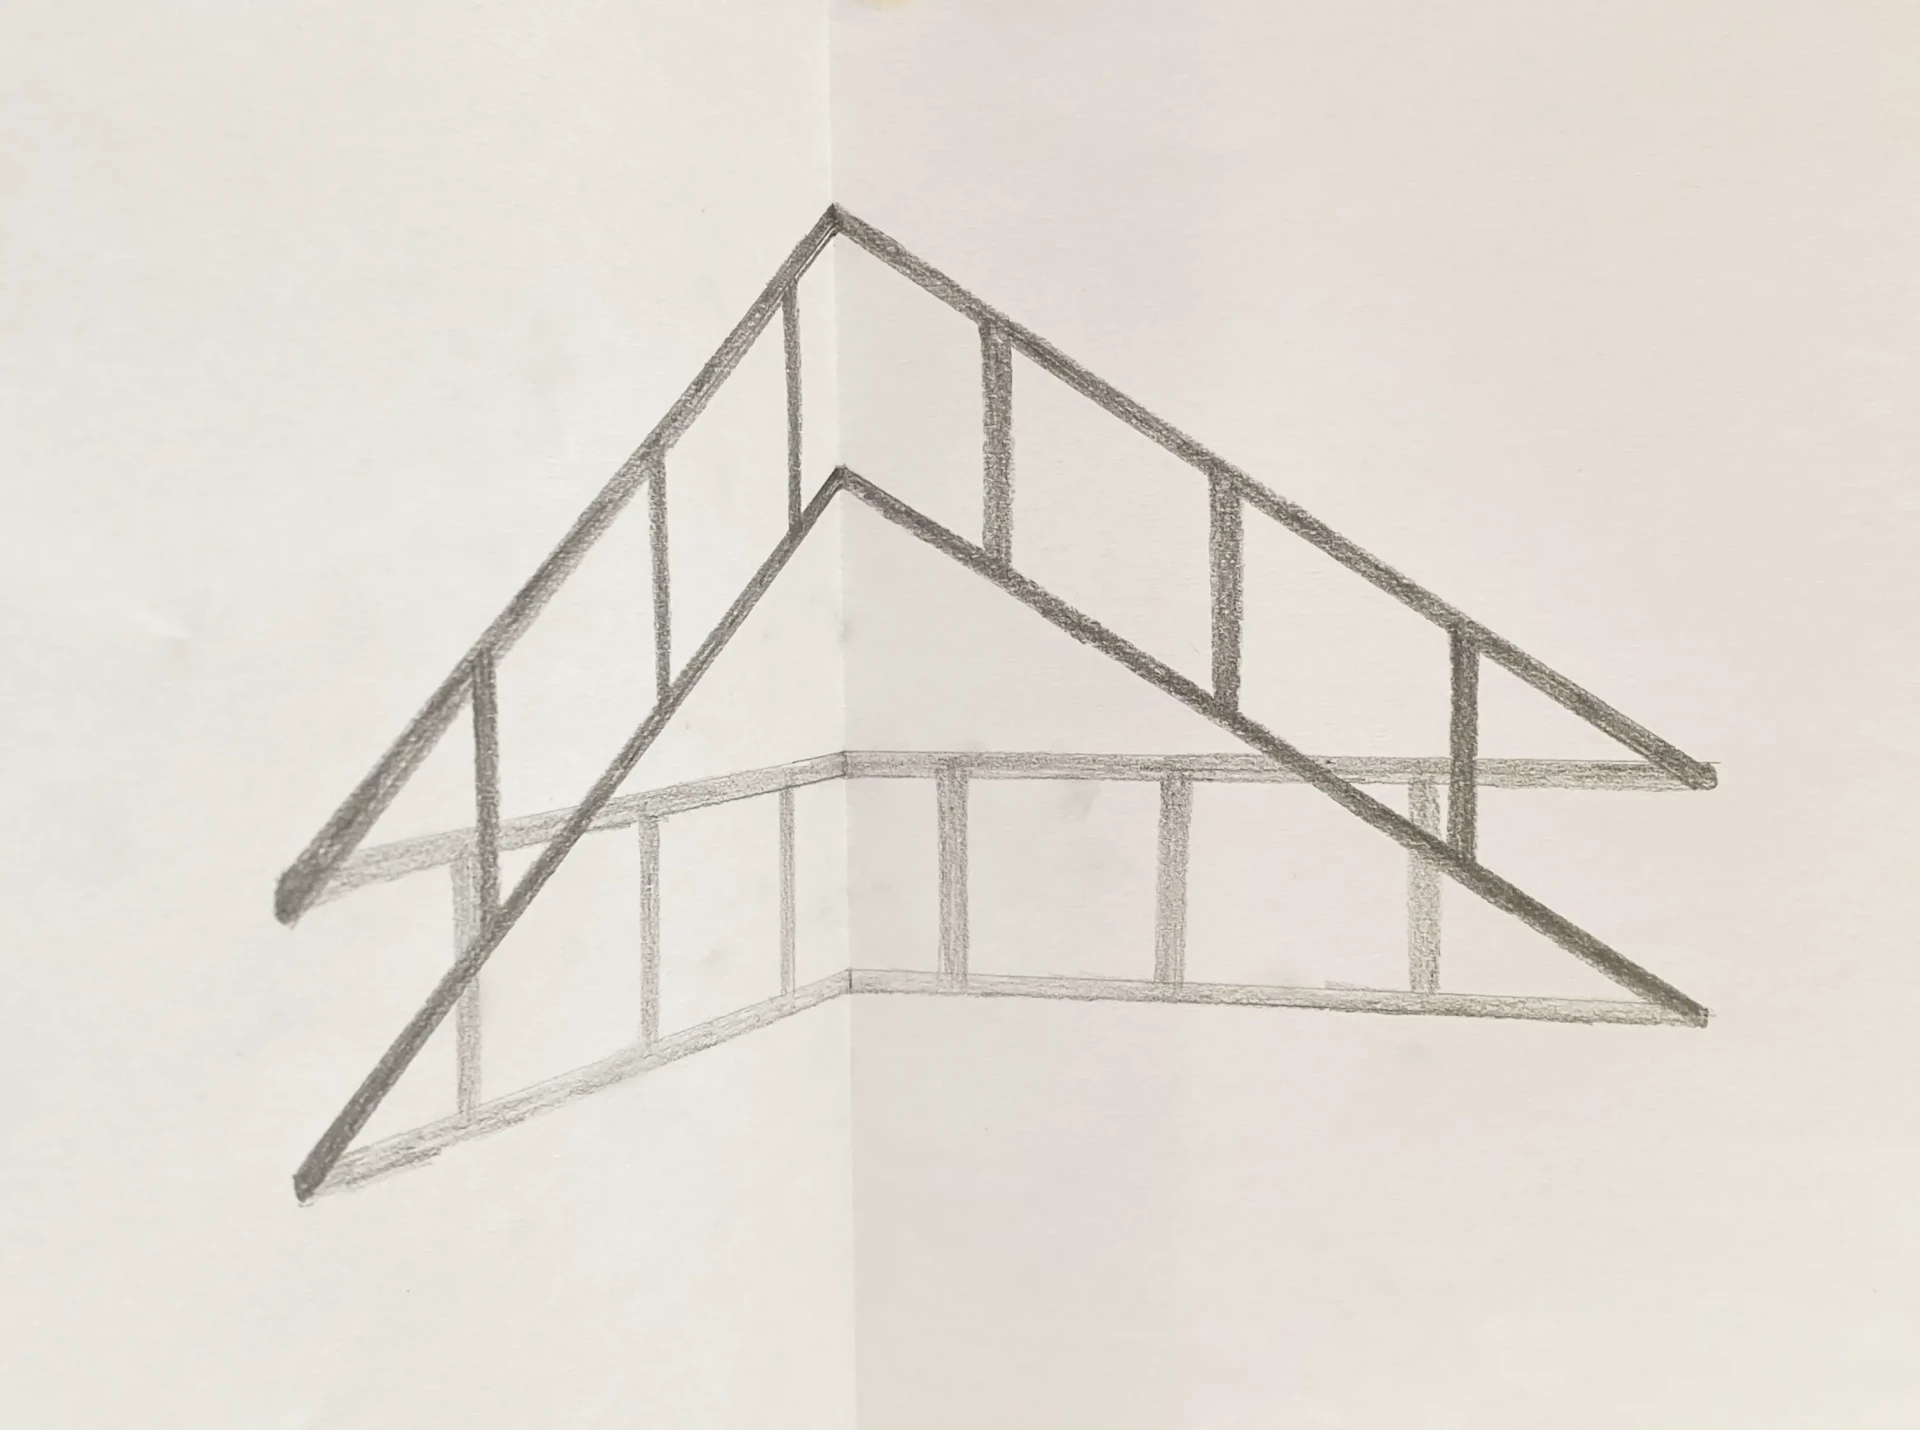
7. Now, draw new bars. To do this, draw them just above the previous ones, to clearly suggest that the first ones, at the bottom, are just a shadow.
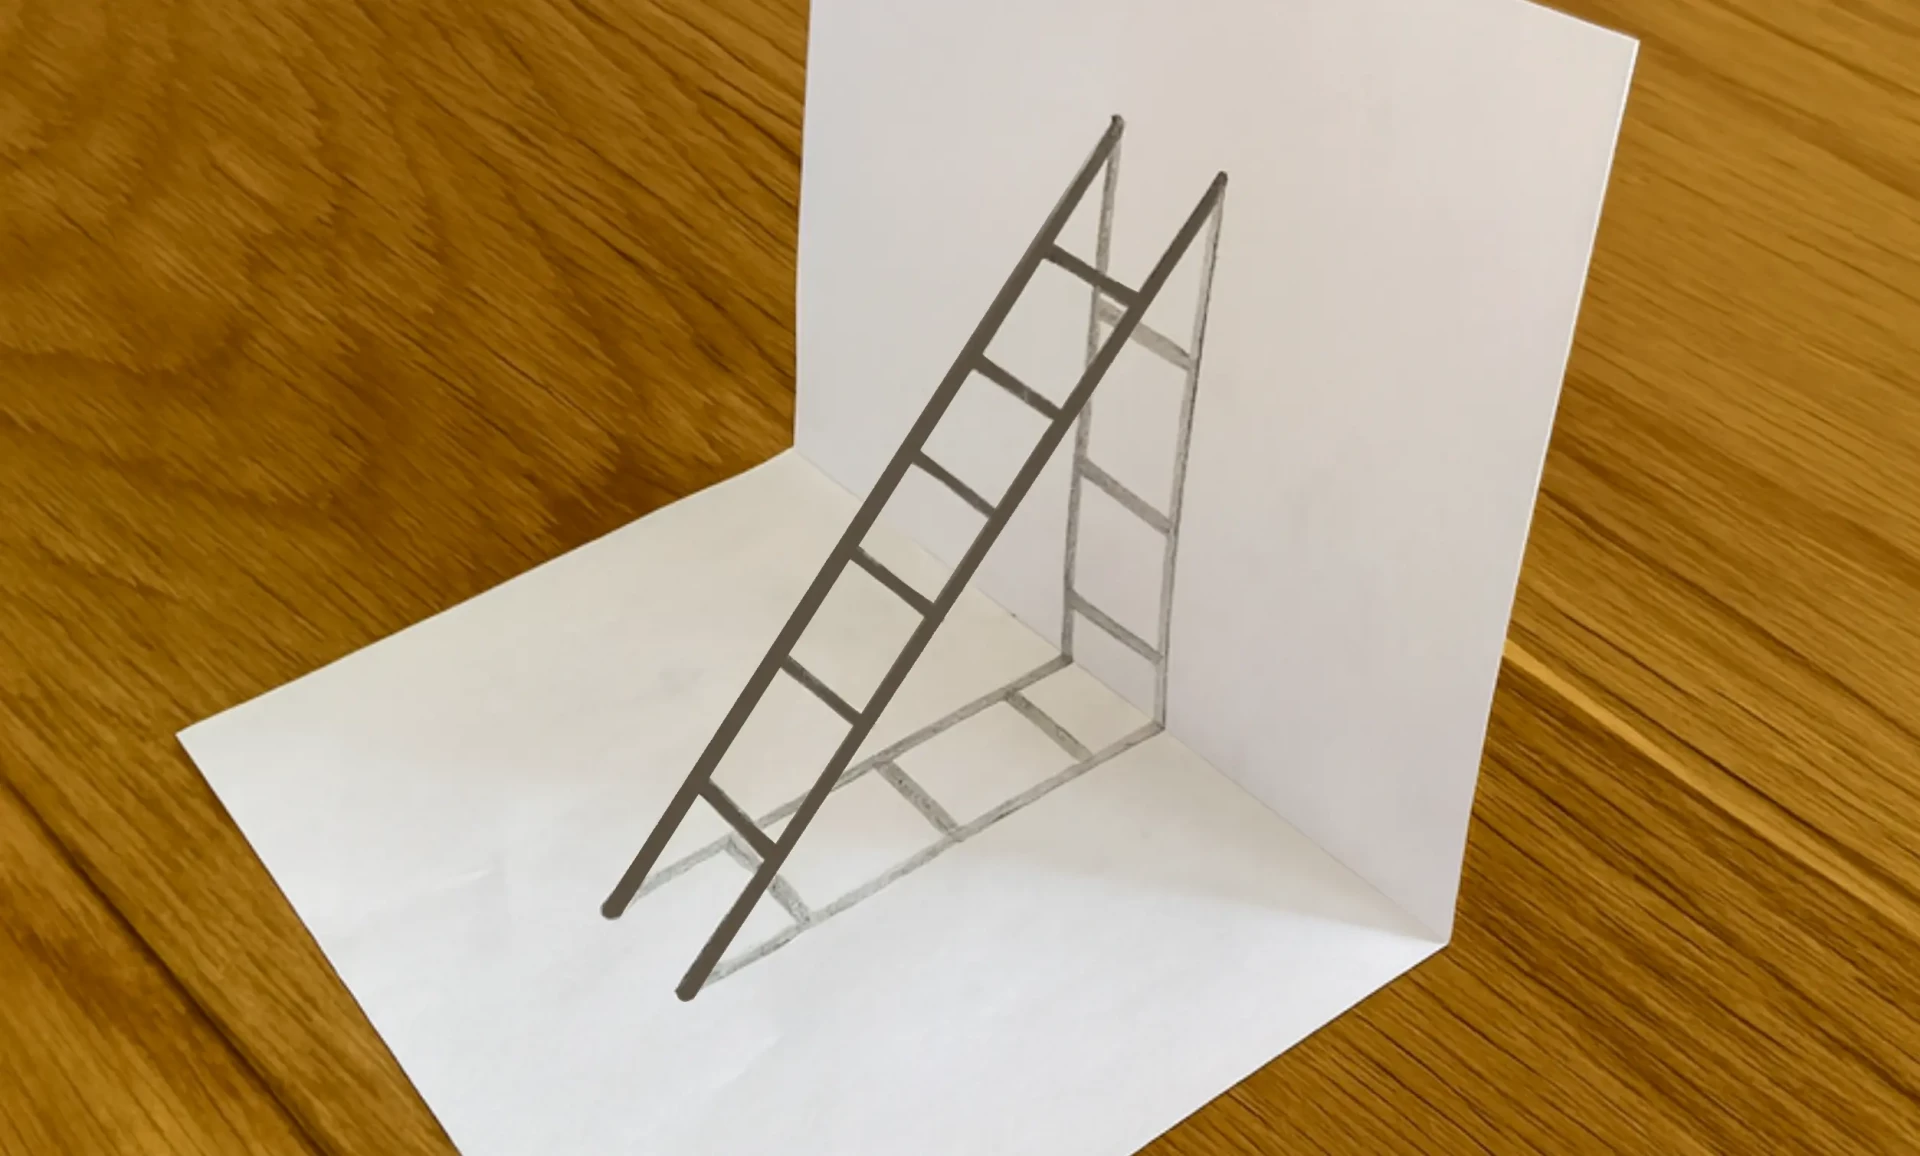
8. And there you have it, our illusion is complete! If you fold your paper and find the right angle with a camera, you will achieve a believable ladder.
Creating a trompe-l'oeil by cutting the paper
Here is the second technique that we find: it involves playing with distorting drawings by stretching them. Then we cut out to give the impression, at the right angle, that the object is coming out of the paper.
For materials, you will need the same materials as for the previous trompe l’oeil, as well as a pair of scissors.
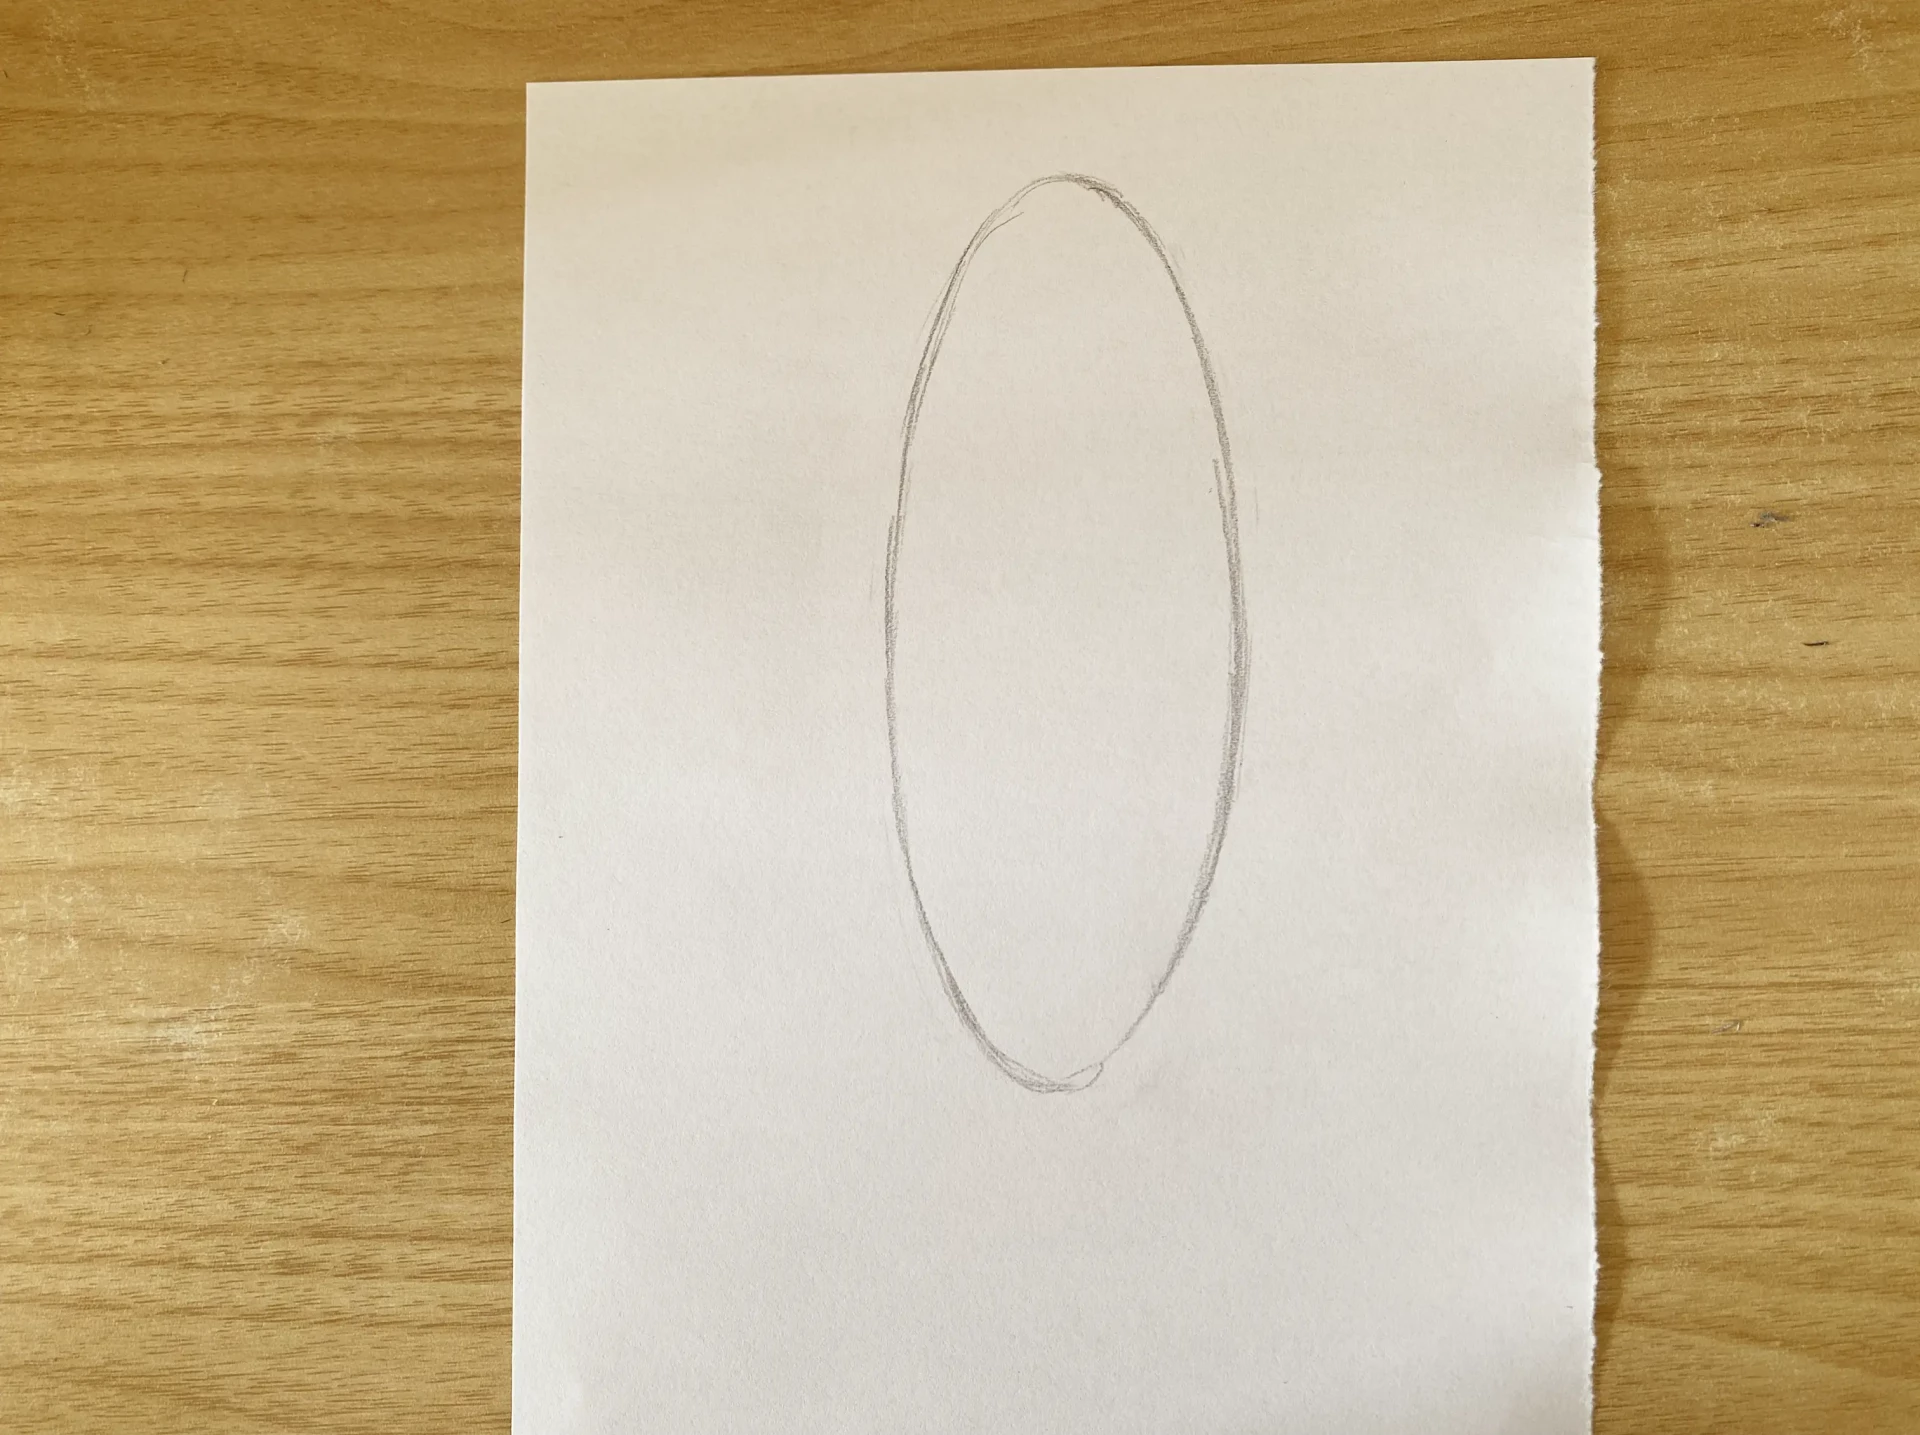
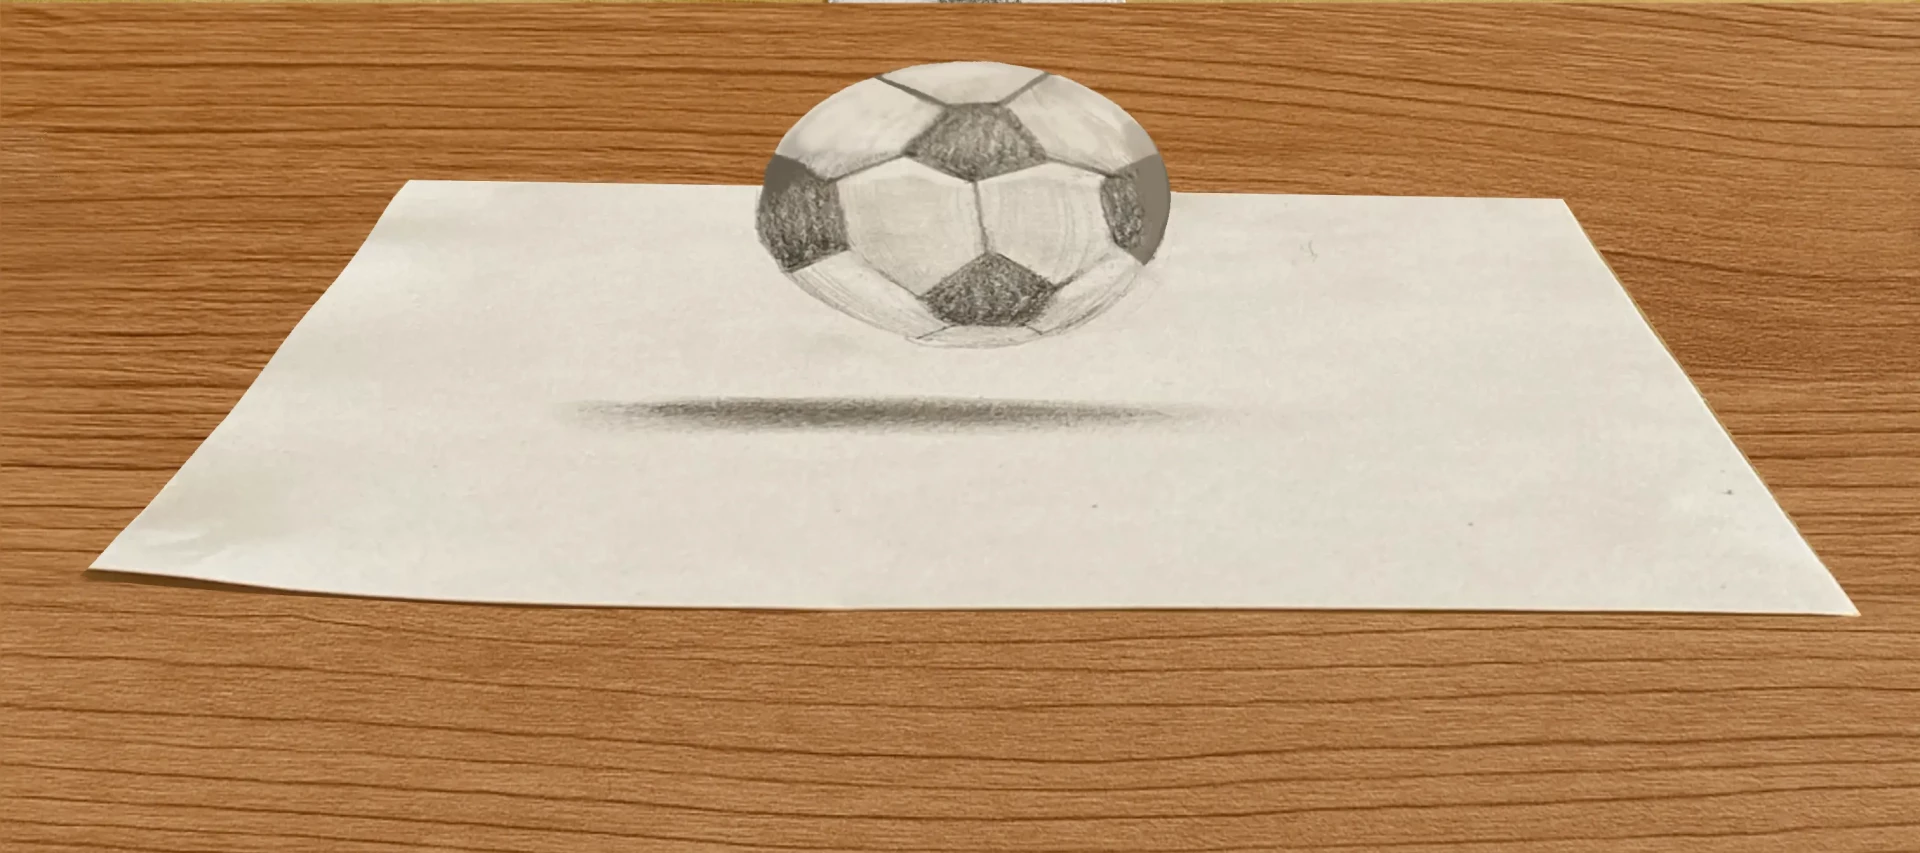
1. We start by drawing a very elongated oval on the upper part of the sheet.
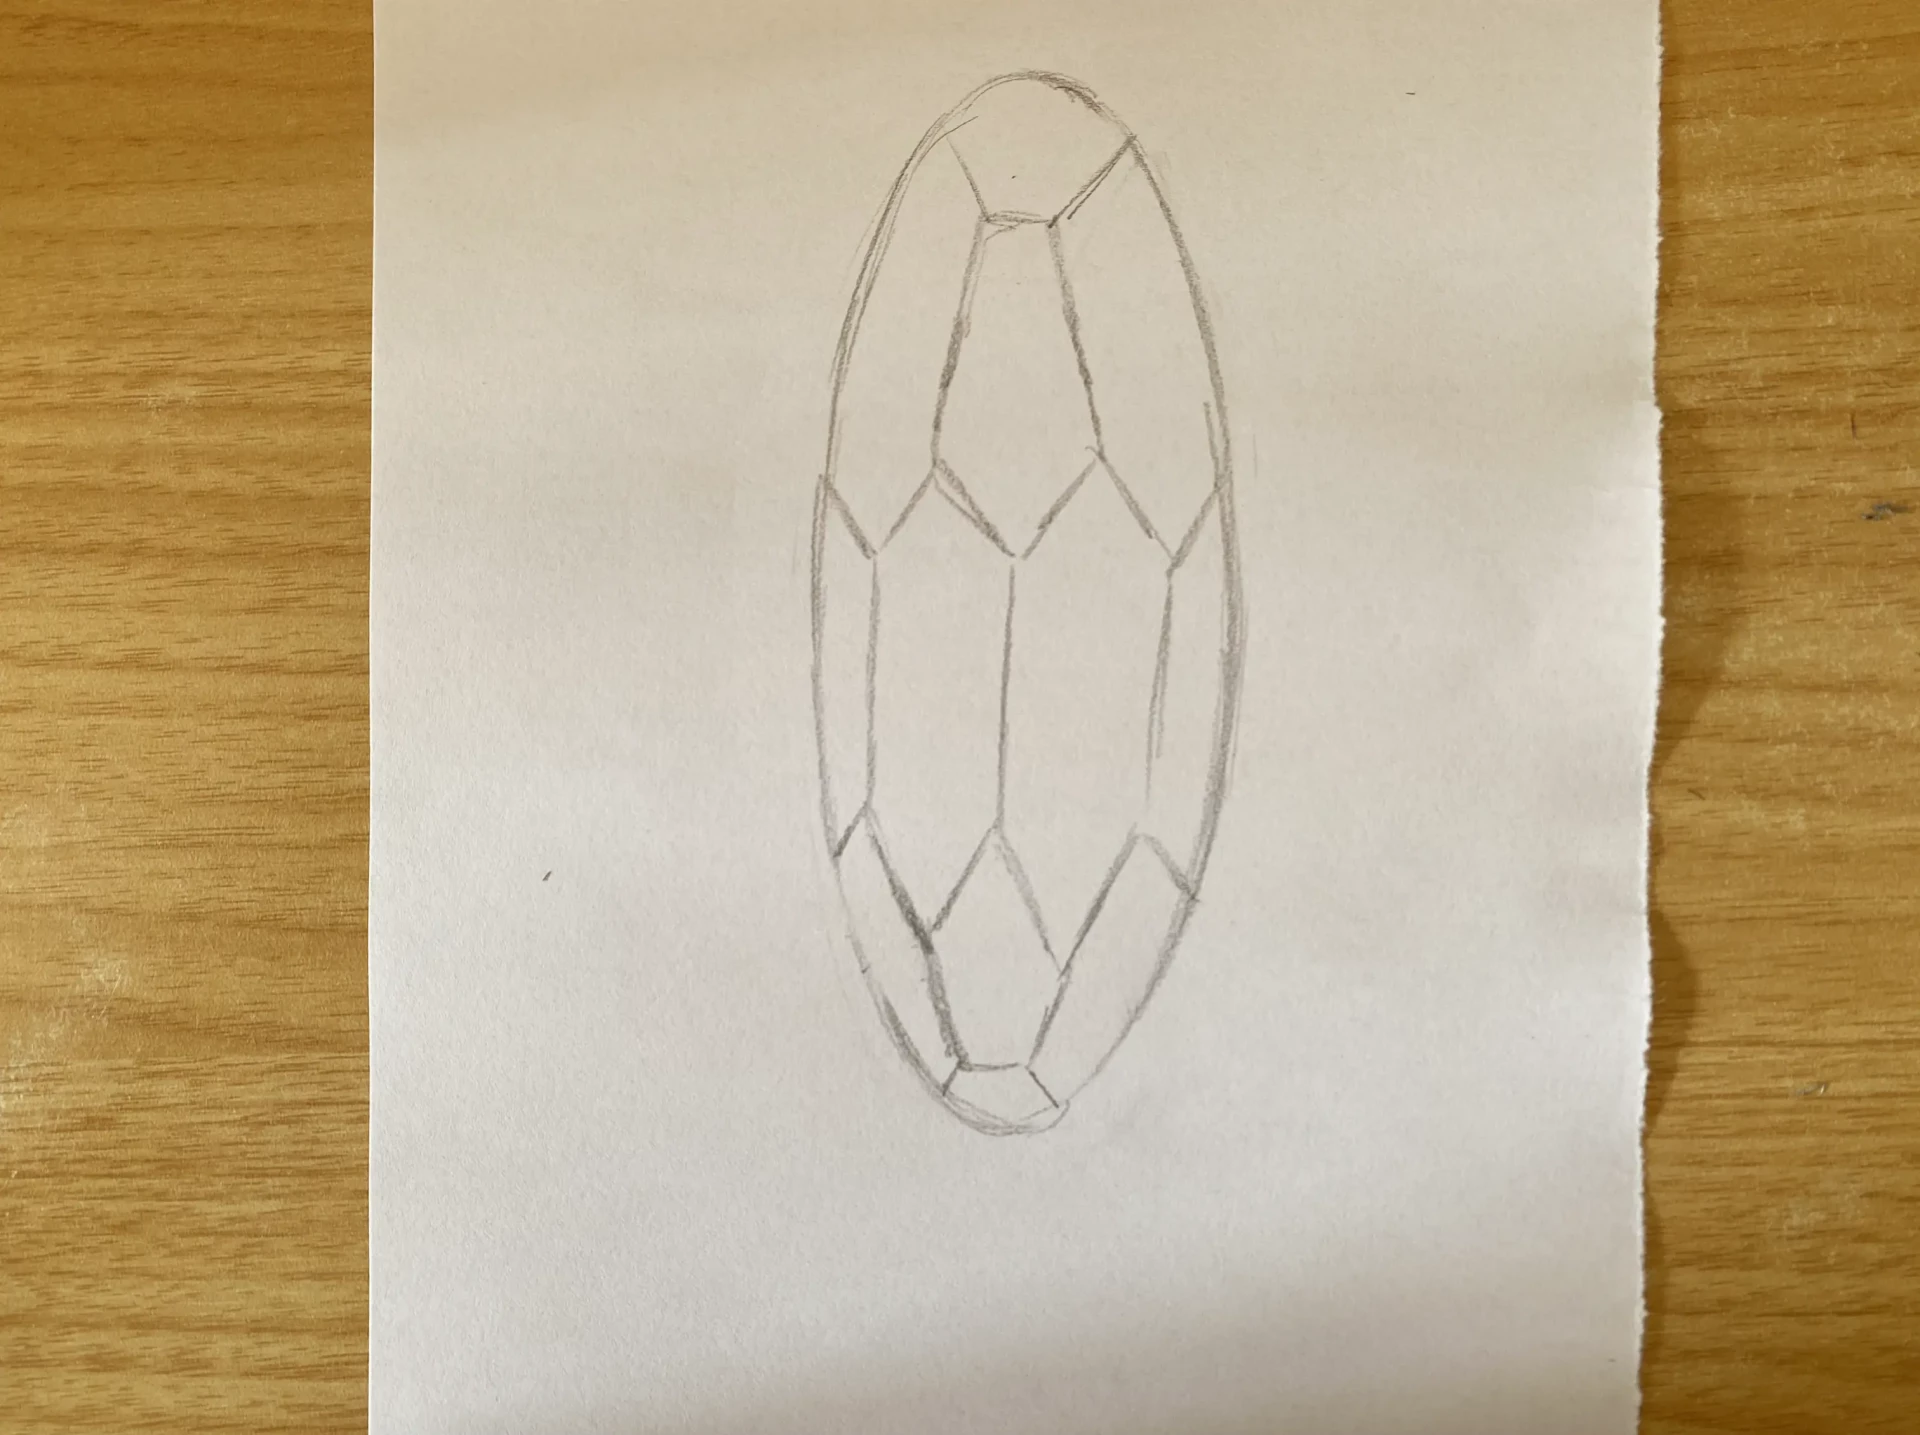
2. Next, we draw the patterns on the soccer ball. As you can notice, in the central part they appear very stretched, and conversely, flattened at the ends.
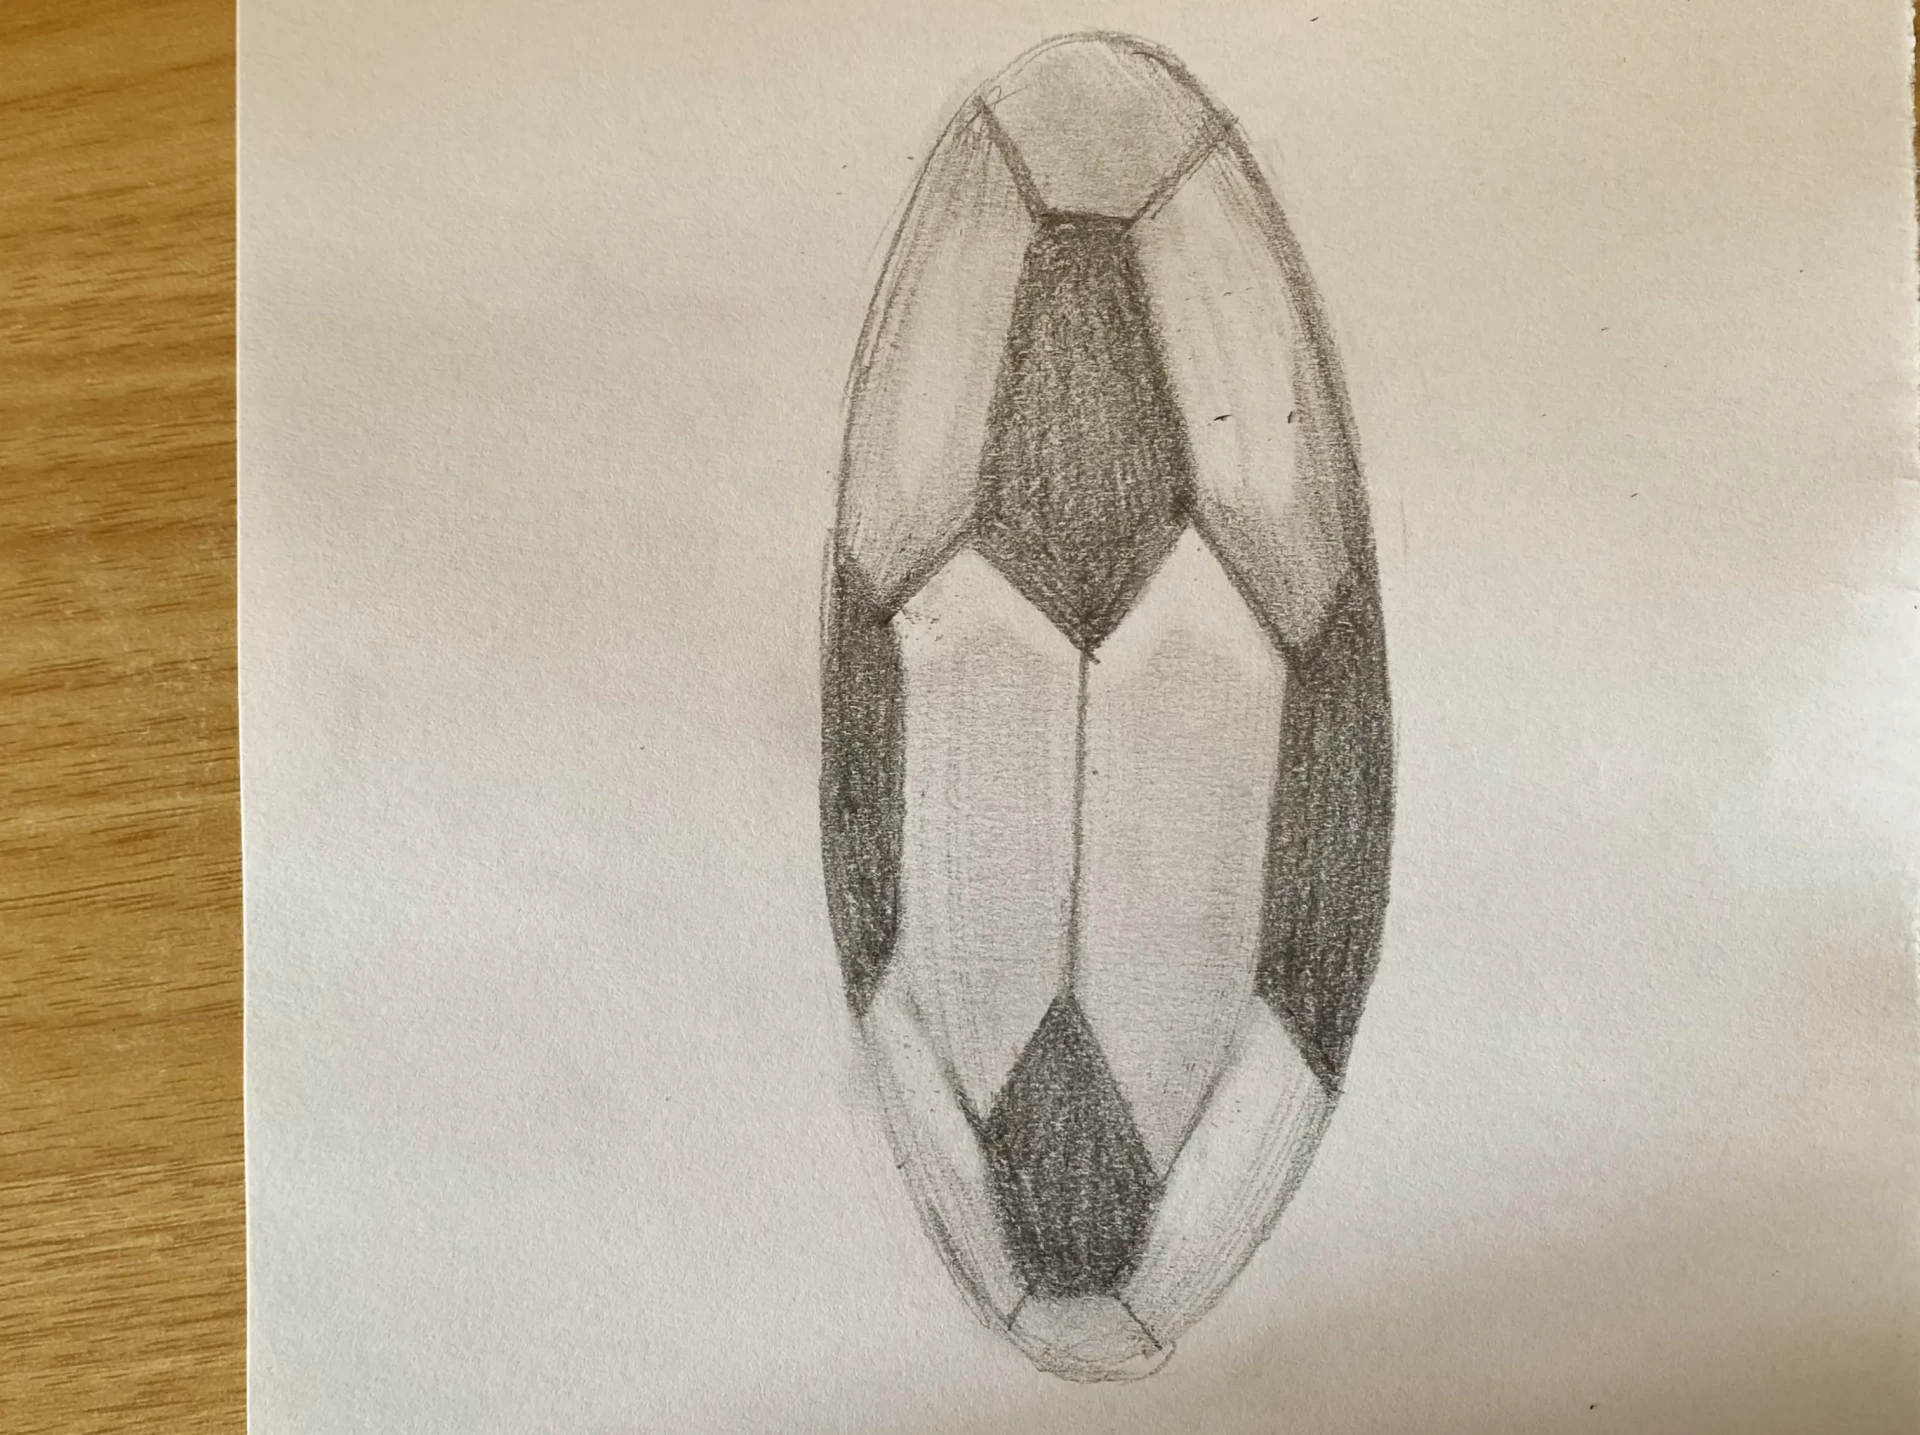
3. We now add shading. I like to add slight shades on the upper part to enhance the optical illusion.
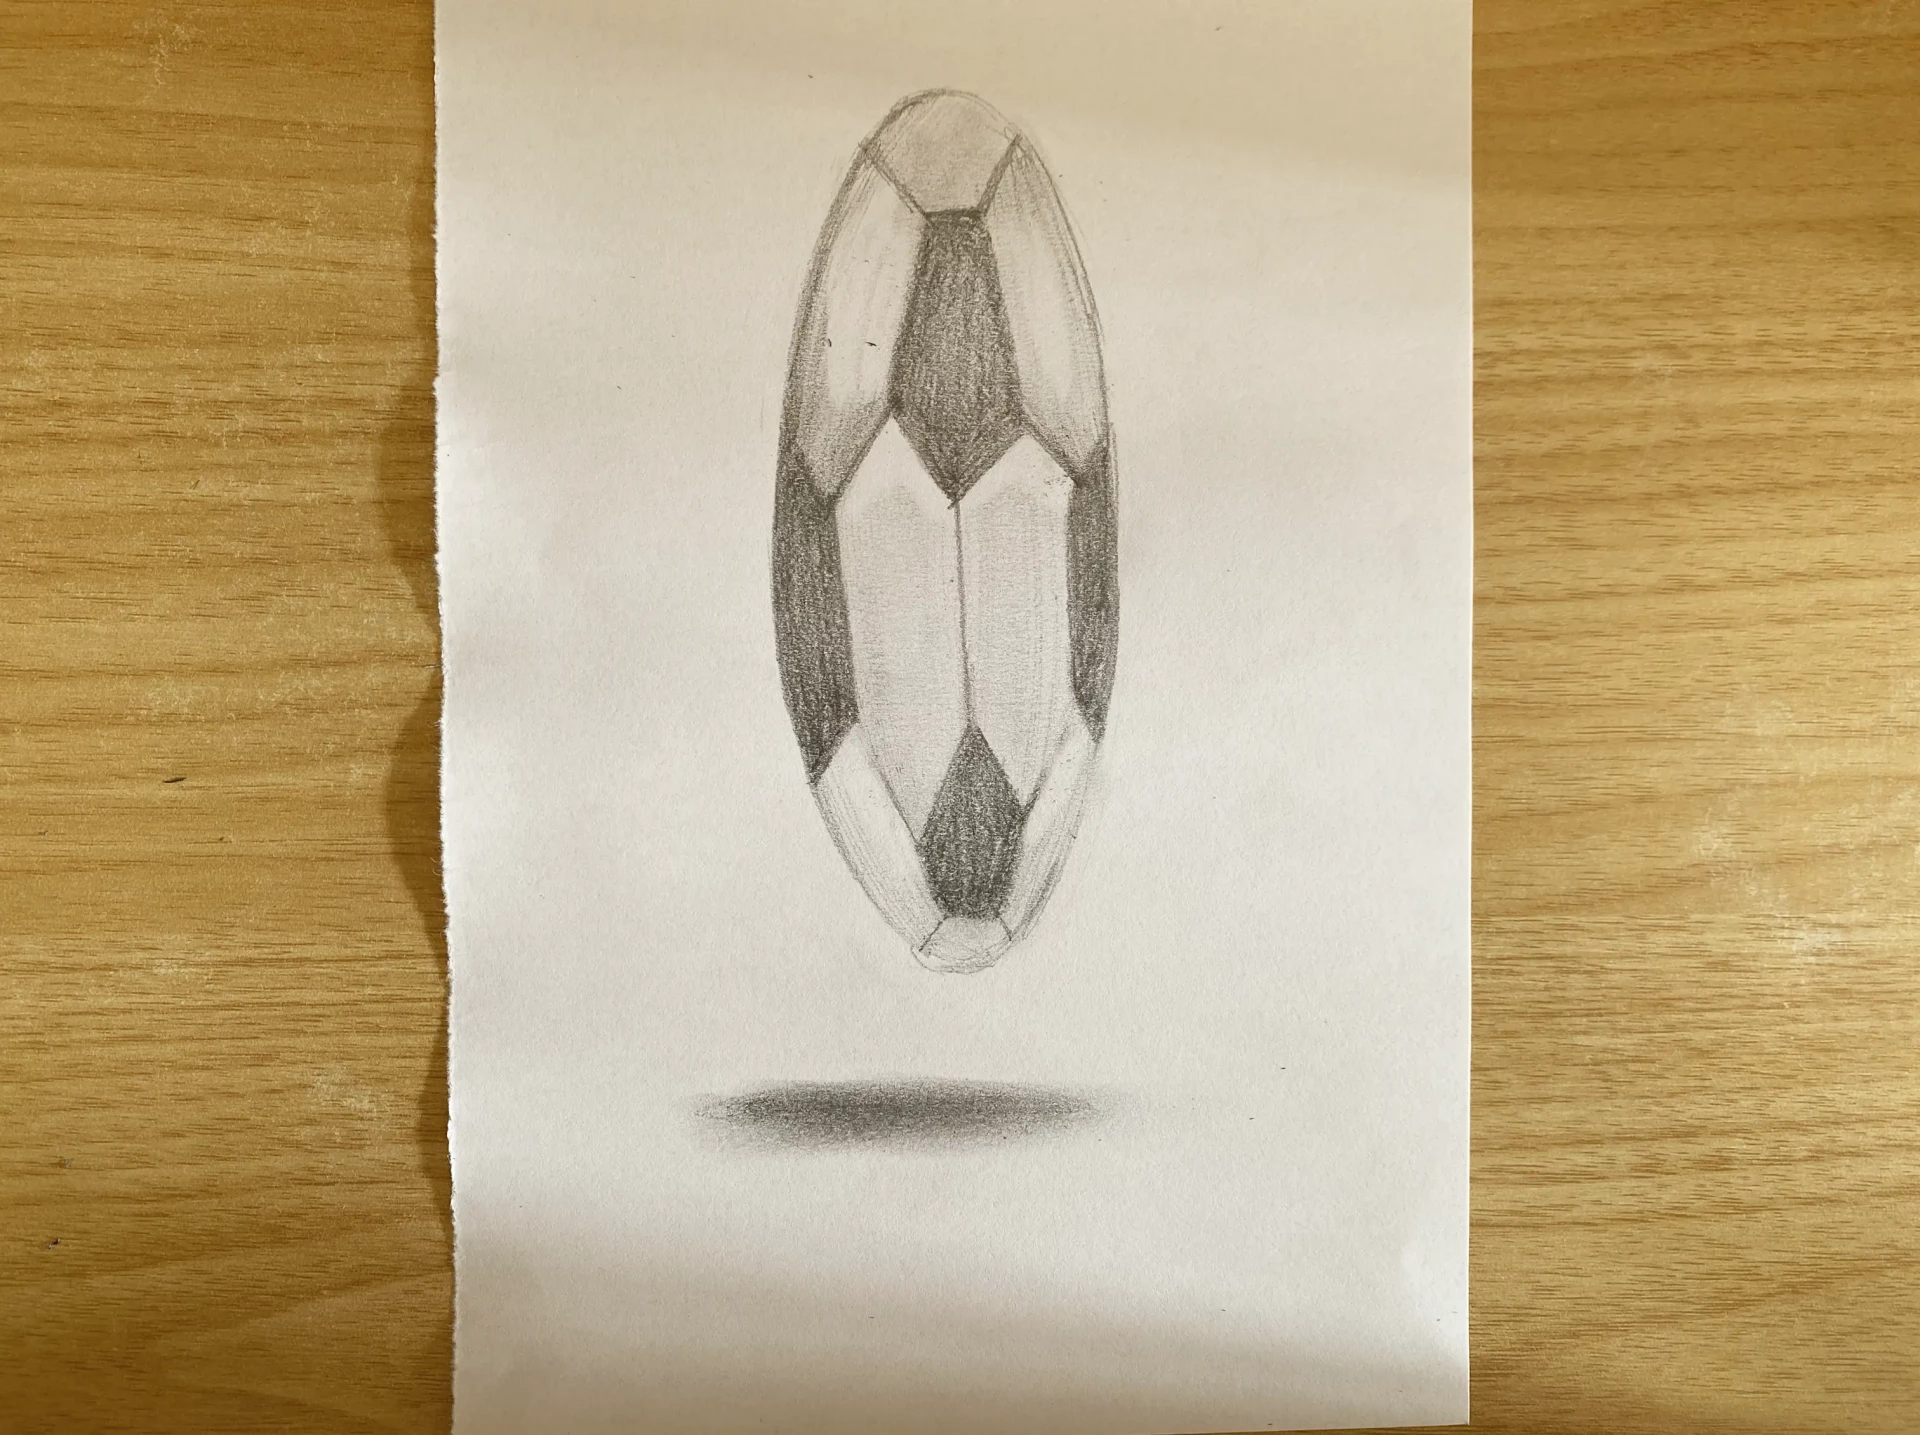
4. We now add a shadow on the ground: it is this that will enhance the illusion by giving the impression that the ball is floating. Make sure you blur it well to create a diffuse effect.
Finishing your trompe l'oeil drawing
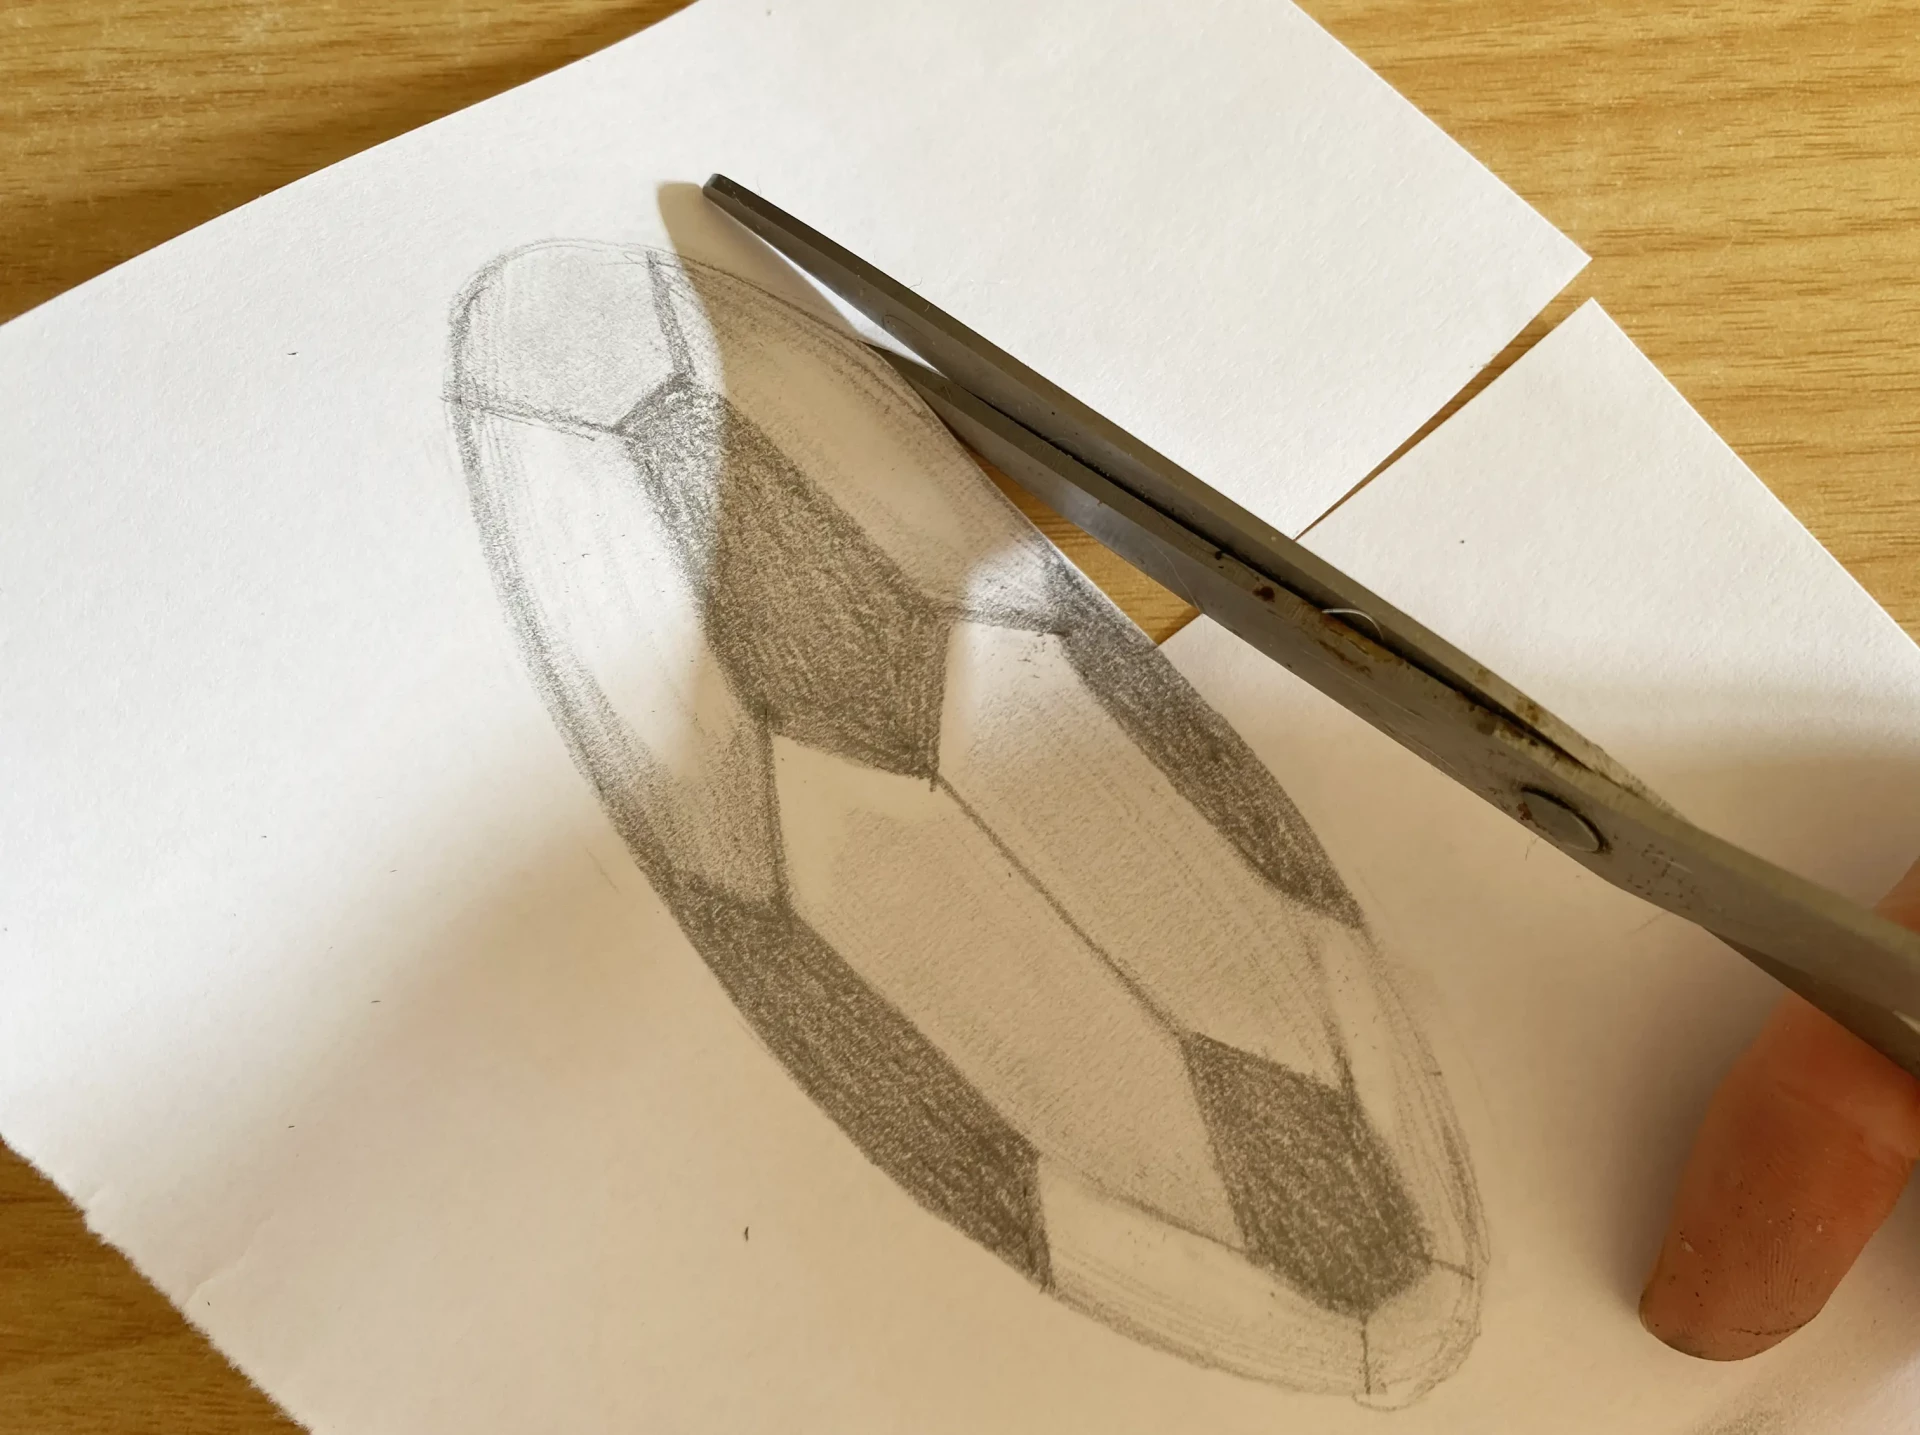
5. It's time to cut! About halfway through the sheet, start cutting horizontally, then follow the shape of the ball.
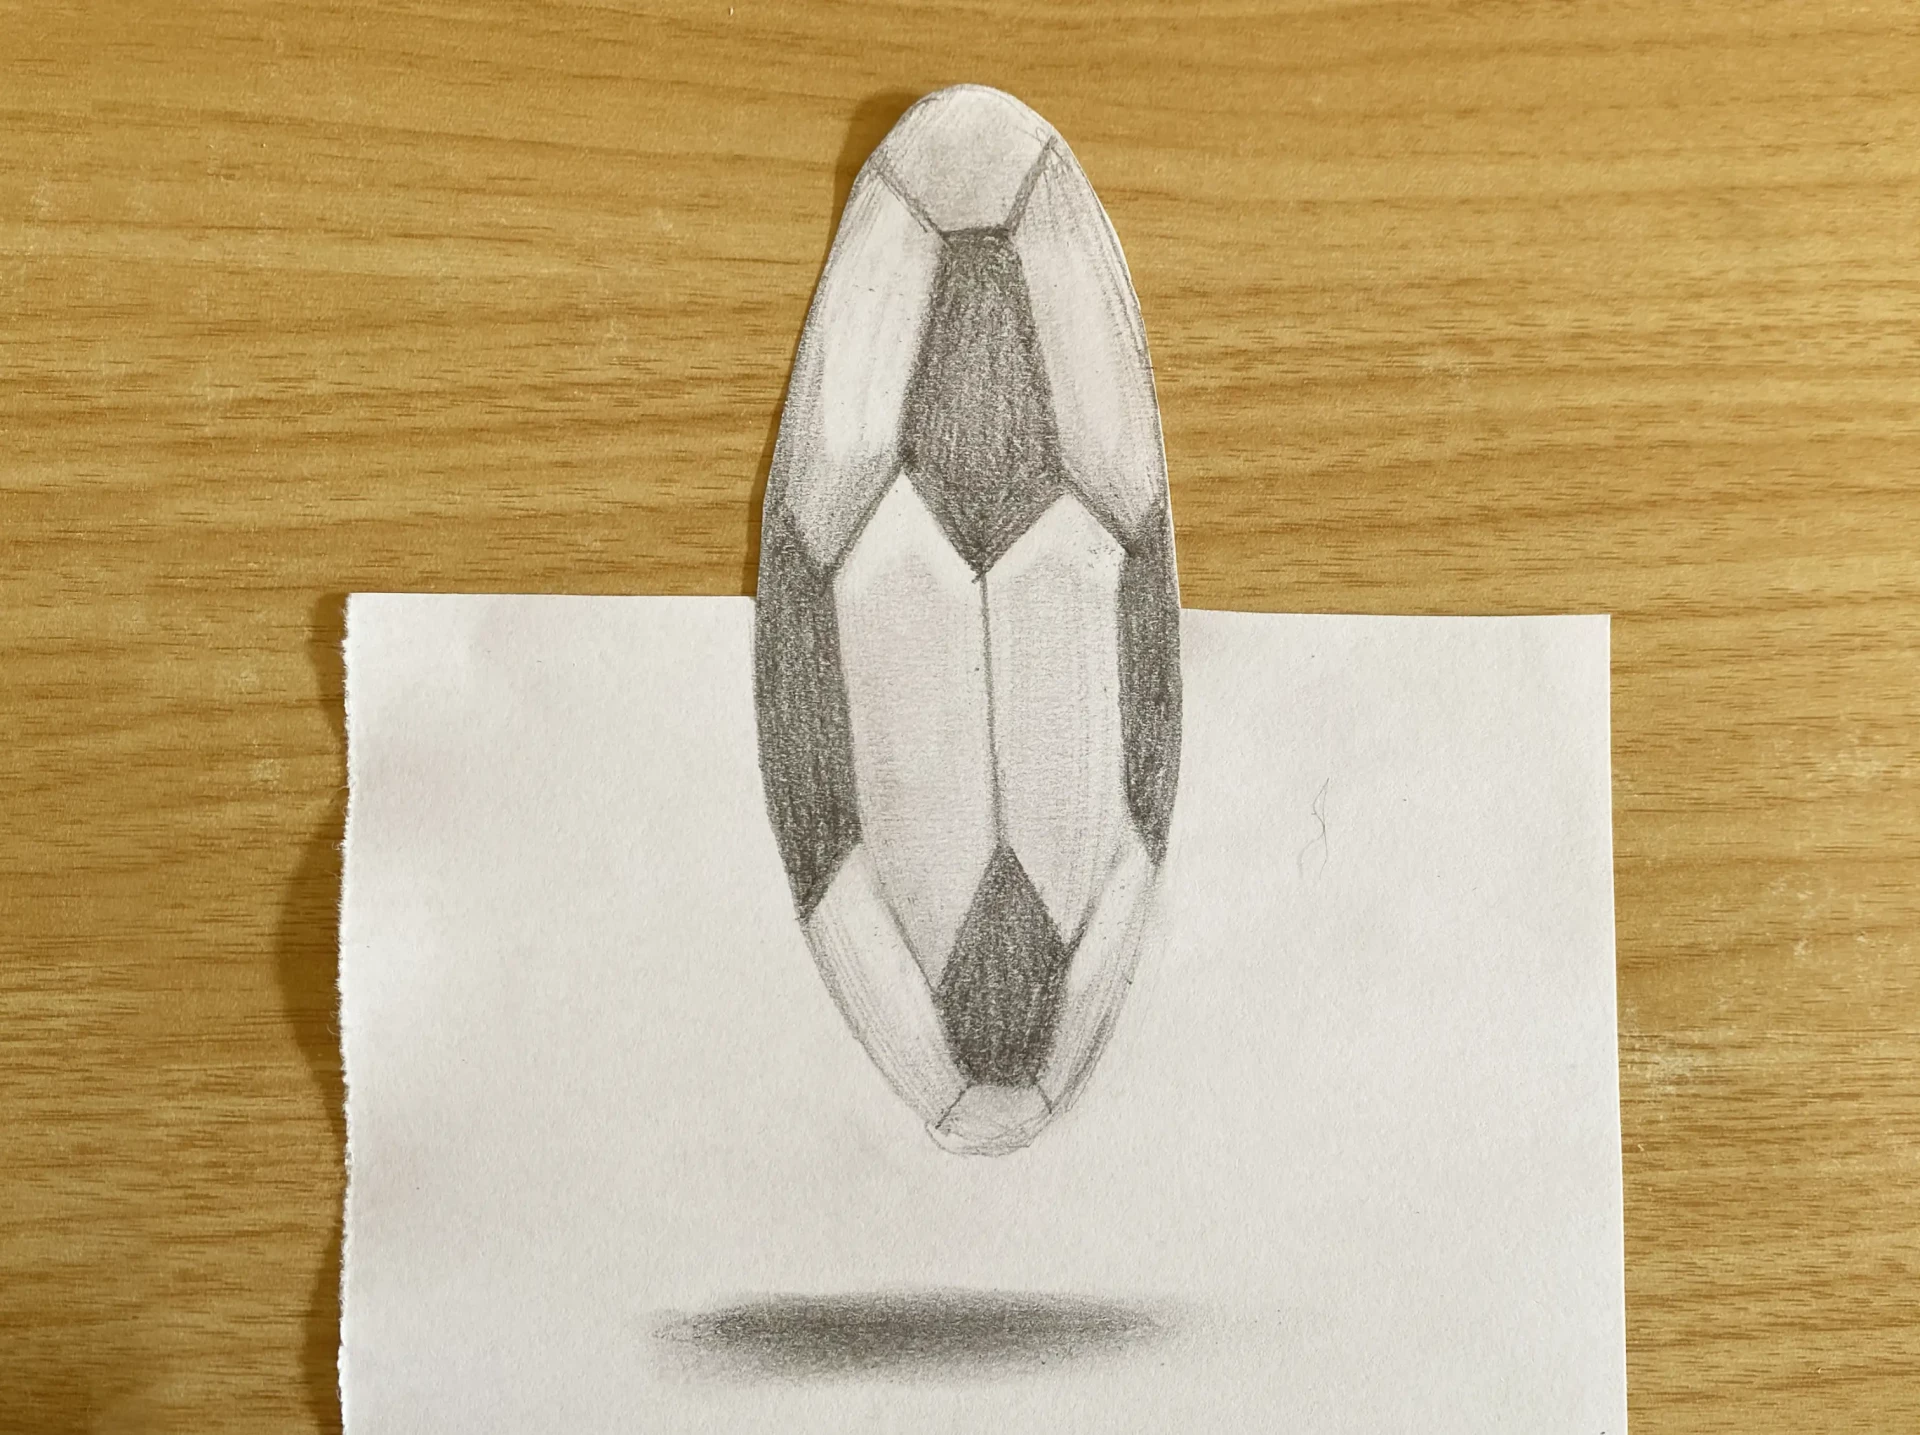
6. Here is the result you should have achieved.

Now, by looking for the right angle, generally between 30 and 50 degrees, you should see the illusion of a levitating ball being created. Obviously, this is a simplified version: the more details and realism you add, the more astonishing the result will be.
And that concludes this article. As you have seen, mastering a trompe-l'œil is primarily about playing with perspective and perception. These two examples are basic, but they will help you get started and perhaps develop your own trompe-l'œils. So, choose a small object, get out your pencils, and... deceive your own eyes!
Editor and illustrator: Chloé Pouteau